Menu. Exports
![]() EXPORTS
EXPORTS
From this section, users will be able to see in a table a list of all the exports that have been defined. In this section, the user will be able to know and define data exports, whose source will be the metadata coming from the documents that are validated, classified and uploaded in the application. Data exports can be generated in Excel or CSV format files. The main use of this functionality is to obtain data files that can be integrated into other external systems, mainly accounting or management systems, such as SAP or ERP. In this section you can register new exports and their characteristics in the application with the necessary data, search and/or display the list of all the current properties, a series of fields (properties) as well as sorting options and actions to be executed.
With"Add", the application displays a new subwindow to register a new export, where minimum mandatory fields to be filled in are required.Exports" can be generated, since they will be programmed in time, with the parameters and configurations that are established, being unattended executions by the user.
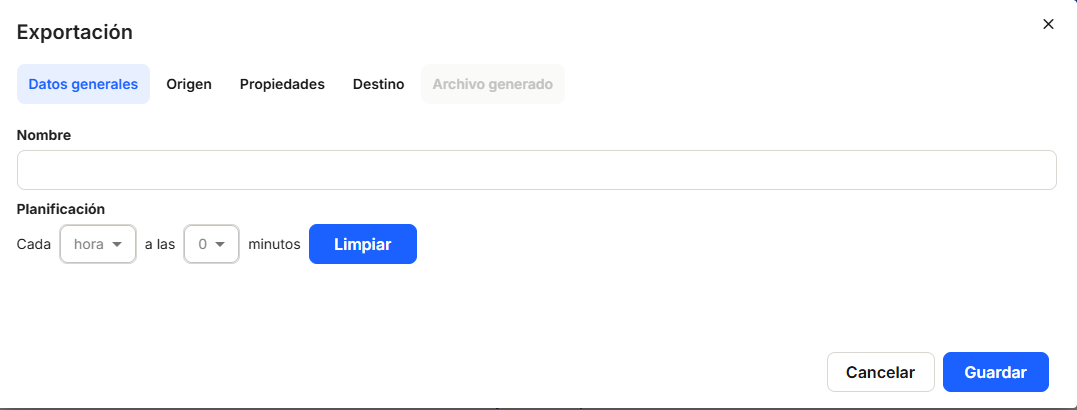
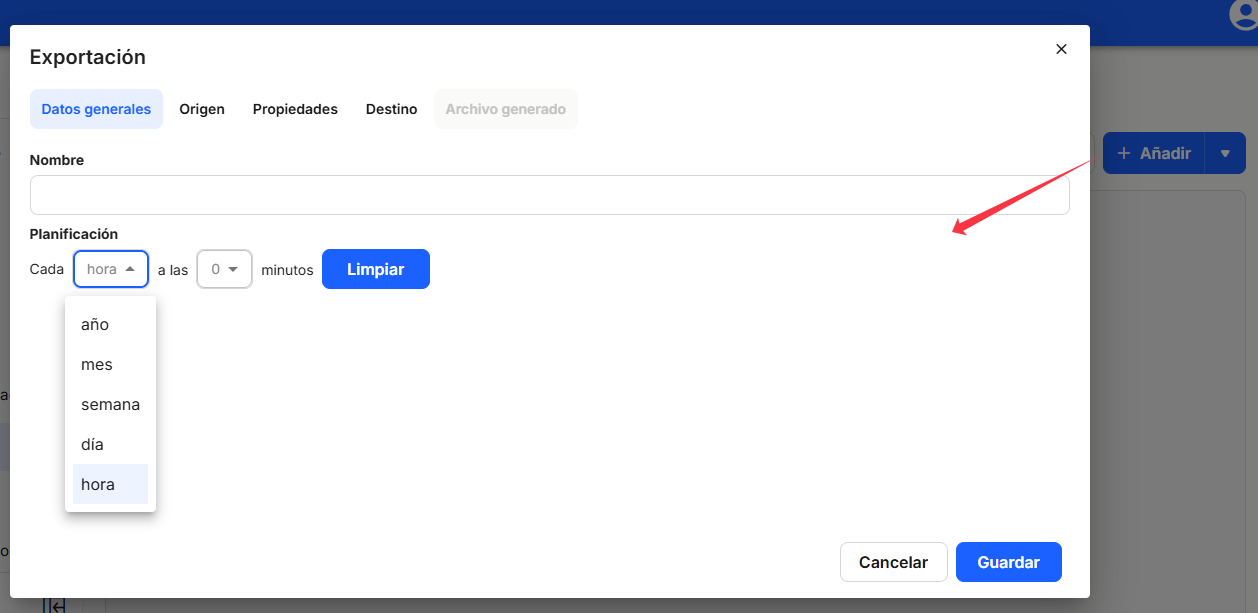
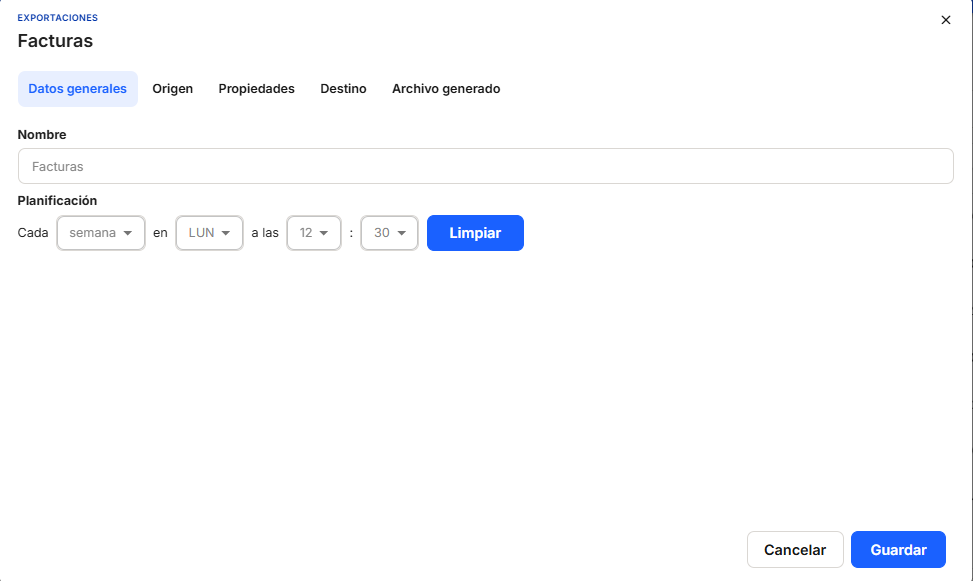
To do this, we need to configure in the window that appears, and not necessarily in this order, the"General data" section, the"Name" (which must be filled in) and"Schedule" (where the periodicity for the execution of the data export process will be established). With the "Clear" button you can delete any established time schedule.
"General data": you need to set the "name" of the export, as well as the "planning" or frequency of the generated export.
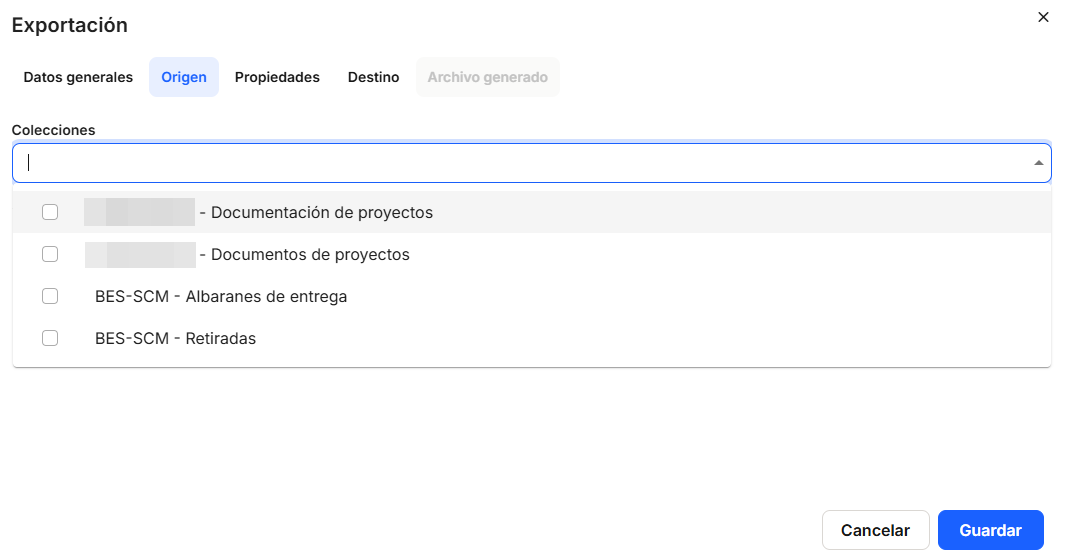
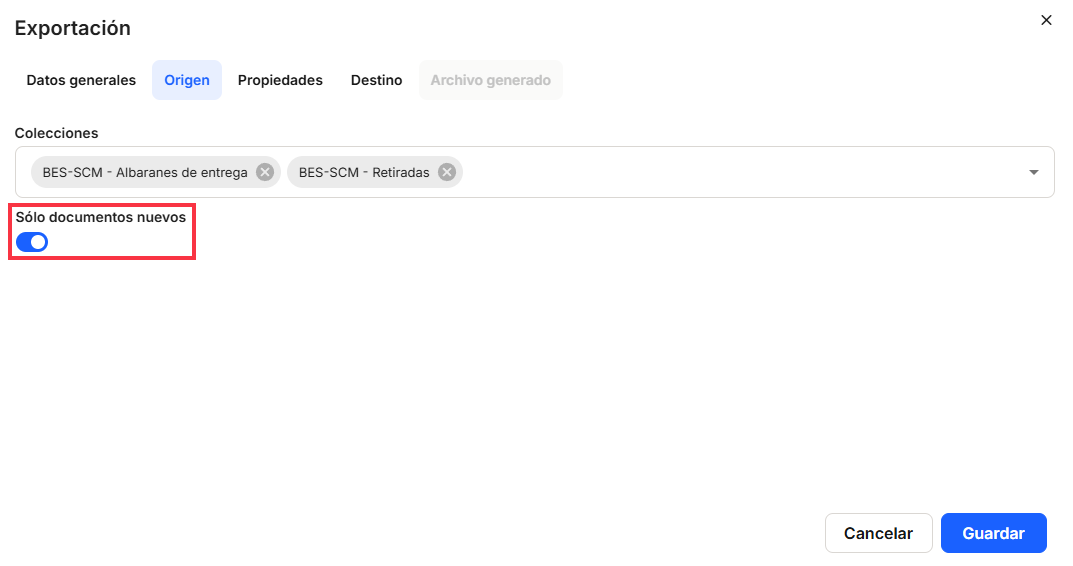
To do this, we need to configure the window that appears, not necessarily in this order, the "Source" tab, where you must enter "Collections" (mandatory), where you must select one or more of those registered in the system, which will be offered by clicking on the button that provides the drop-down list or by clicking on the box. Using theswitch, you can indicate whether you want this export to affectall documents or only new documents, provided that they meet the other conditions that are configured. A new document is one that has been registered in the system after the last execution of this export.
To do this, we need to configure in the window that opens, and not necessarily in this order, the"Properties" tab,"Mappings" (mandatory), where you must choose one of those registered in the system, which will be offered by clicking on the button that offers the drop-down list or by clicking on the box.
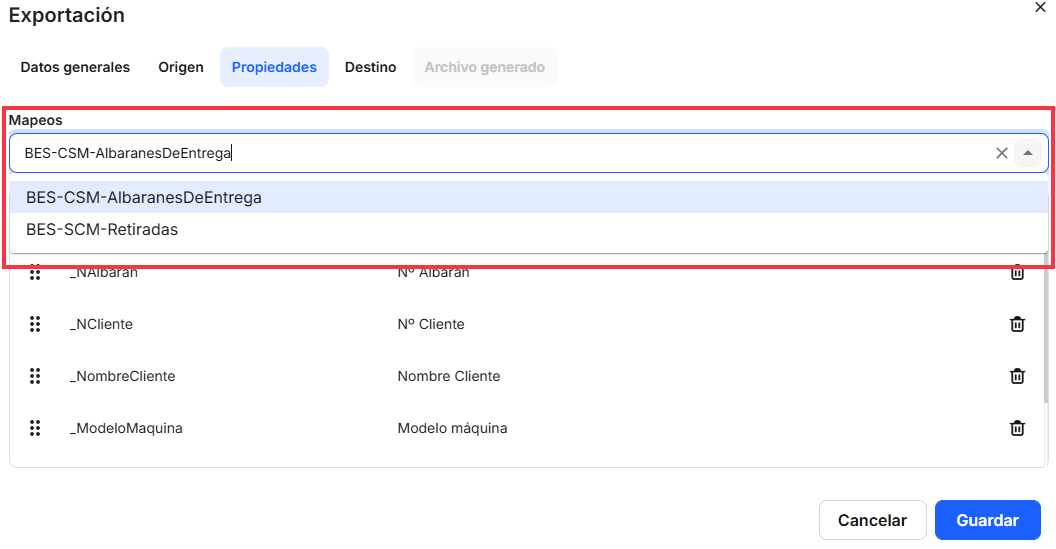
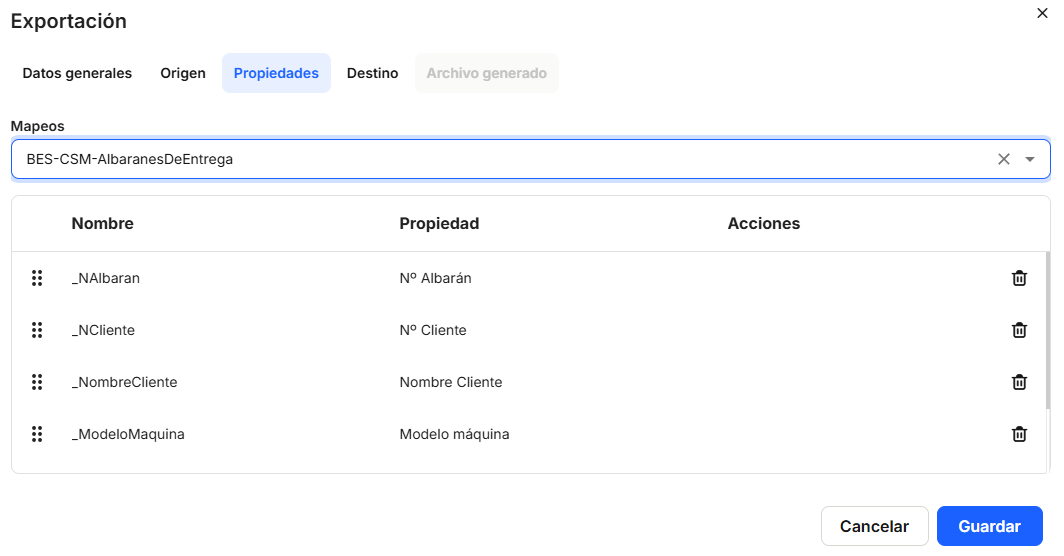
Once a"Mapping" has been selected, the table with the list of "Properties" of the selected mapping will be displayed. Once the properties are shown, the system allows moving the order of the properties shown here, so that when the export file is generated, these properties will be shown as they are set. This table shows the "Name" and "Actions" columns with direct access to the delete option. ![]() . Clicking on this icon deletes the property, only so that it does not appear in the export file. As throughout the platform, the columns shown here can be sorted and displayed by different options and possibilities, which will be explained later, since they are common to all windows.
. Clicking on this icon deletes the property, only so that it does not appear in the export file. As throughout the platform, the columns shown here can be sorted and displayed by different options and possibilities, which will be explained later, since they are common to all windows.
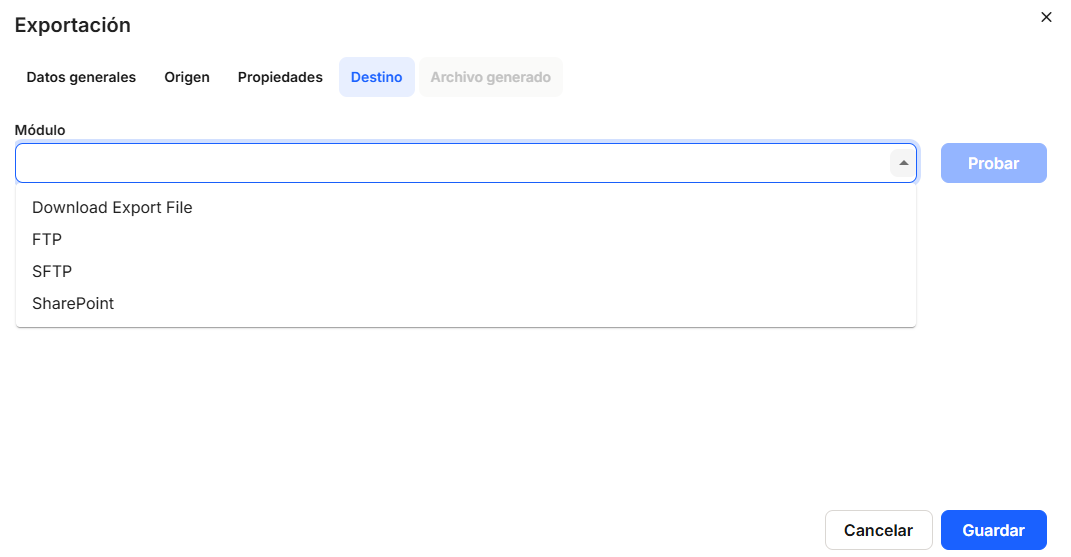
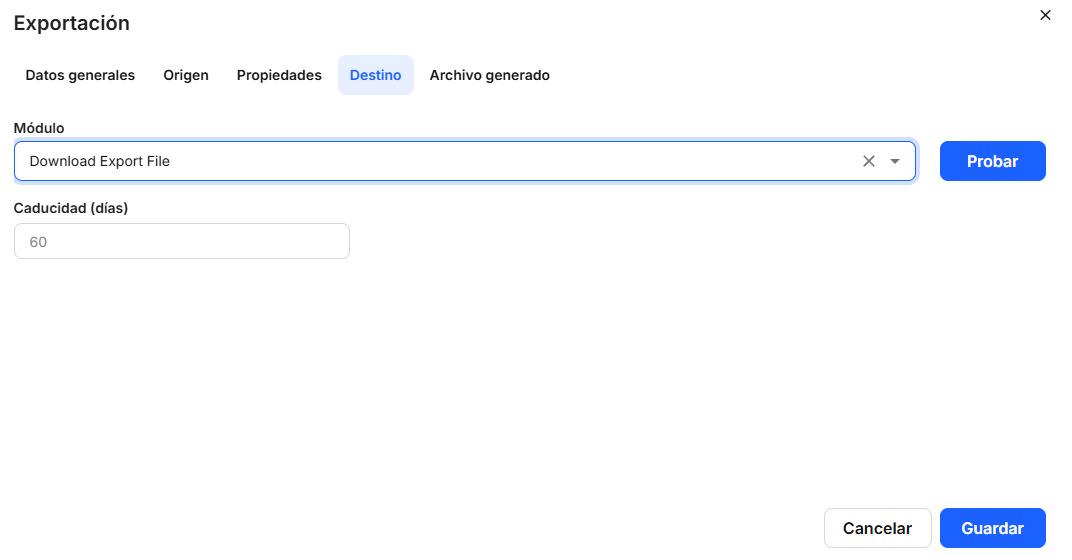
We also need to configure in the window that is displayed, and not necessarily in this order, the"Destination" tab,"Modules" (mandatory), where you must choose one of the options offered by the system, which will be offered by clicking on the button offered by the drop-down list or by clicking on the box. There are three options for obtaining the export file and the repository location,"Download Export File","FTP" and"SFTP". Depending on the option chosen, different data will need to be filled in, so that the file can be exported in the chosen format.
In"Download Export File", it is necessary to specify the expiration date of the exported file and therefore of the data contained in it.
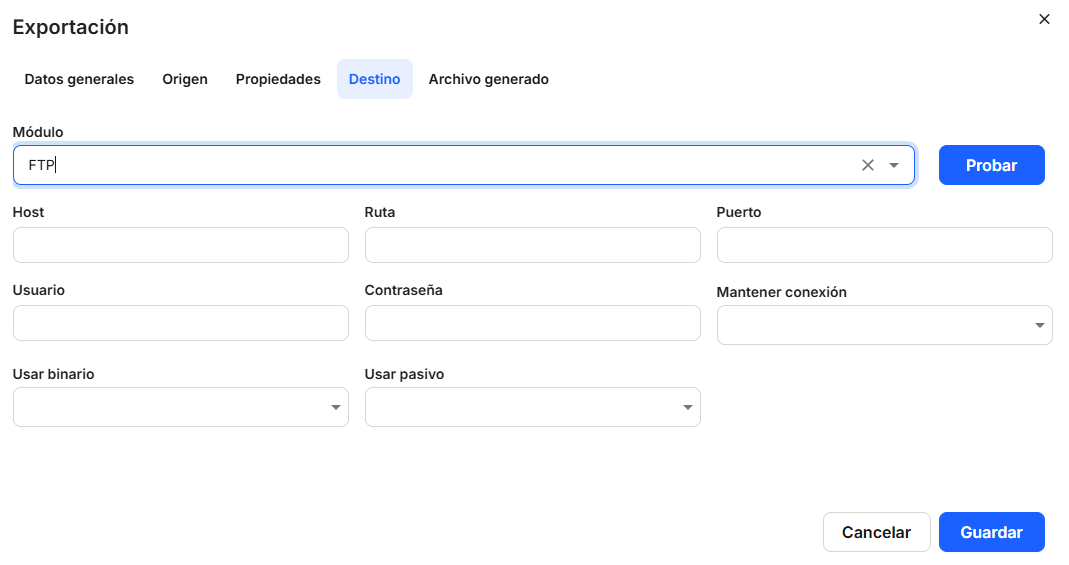
In the"FTP" option, the system needs to specify a series of data such as"Host","Path","Port","User","Password","Maintain connection","Use binary" and"Use passive".
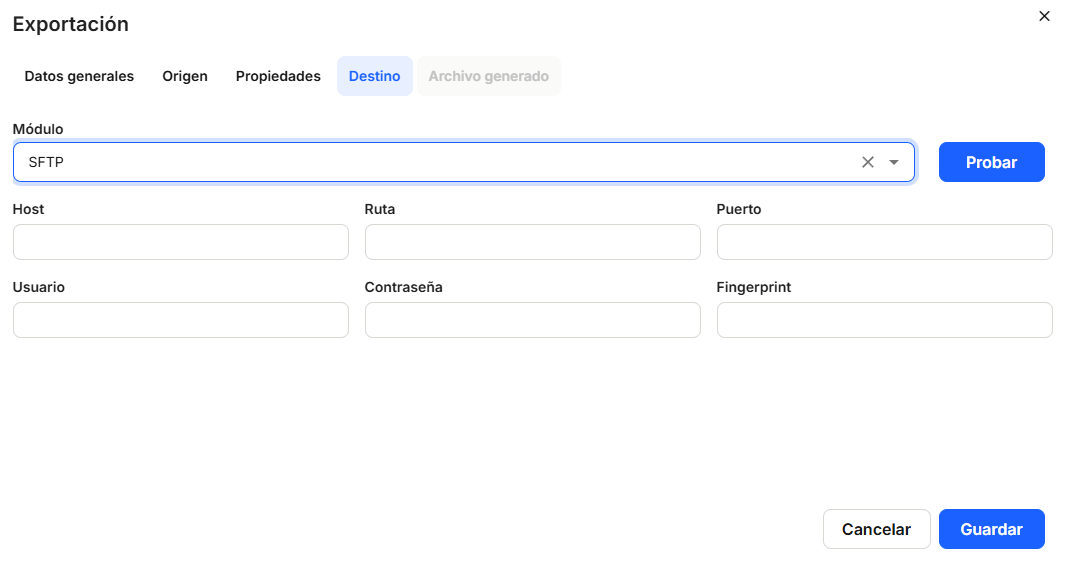
In the"SFTP" option, the system needs to specify a series of data such as"Module","Host","Path". "Port","User","Password","Fingerprint".
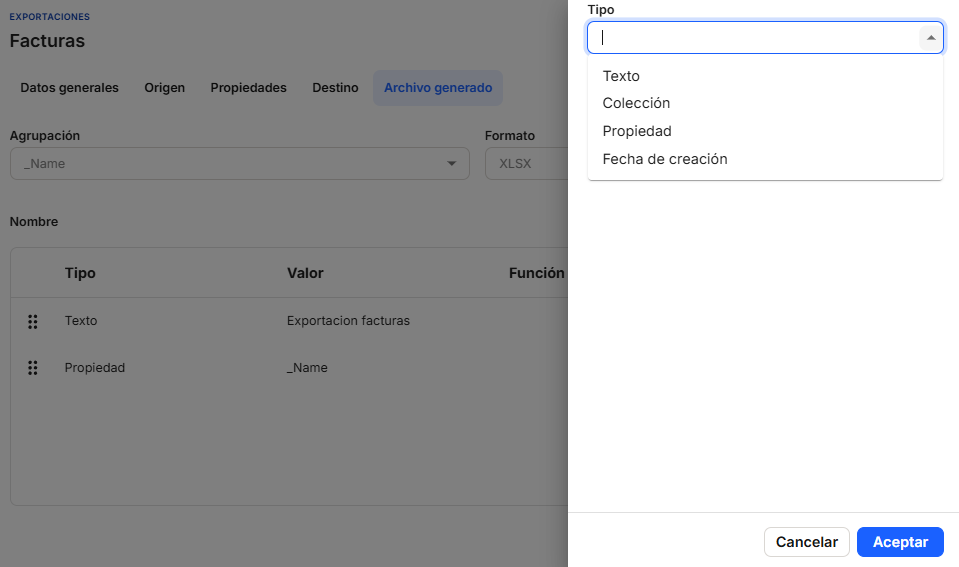
As for the "Generated file" tab, it will only appear active once the other tabs have been completed, as they will need to be configured. This is because, in order to configure the "Grouping" box, you must take the data offered in the drop-down menu from the "Properties" that have been previously established. This option requires that the exported file be grouped in its header by the property indicated here. You must also establish which file format will be obtained as the export file, with the default configuration established by the application. CSV generates a file with several rows and a single column. The boxes will always offer the different selection possibilities, which can be accessed by clicking on the button that offers the drop-down list or by clicking on the box.
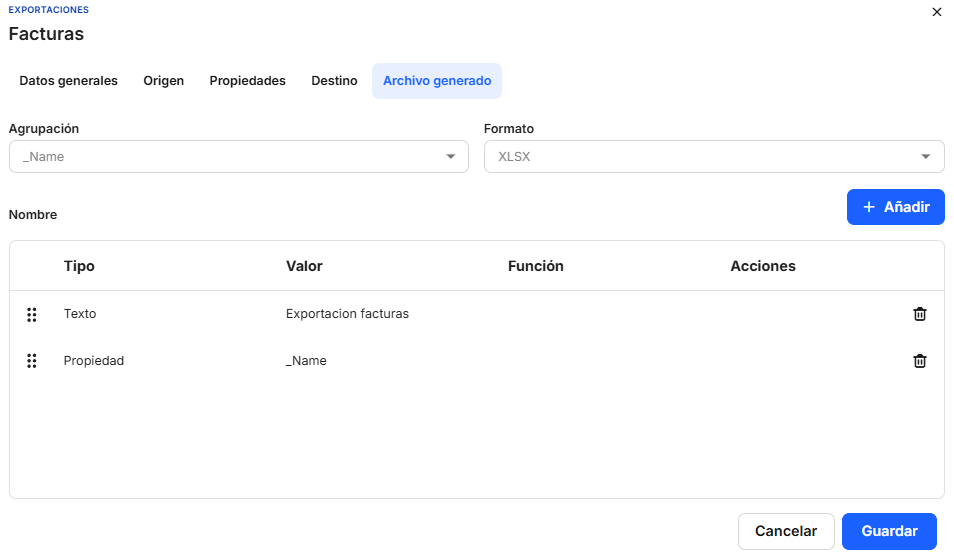
After setting"Grouping" and"Format", if the user considers it convenient, it is possible with"+add" other possibilities to the file to be exported. These"Type" possibilities can be something in"Text","Collection", " Property" and"Creation date" mode. Each has additional settings that are explained below. After each option it is necessary to"Save" to save the name of the export file, or"Cancel" if you do not want to keep the changes.
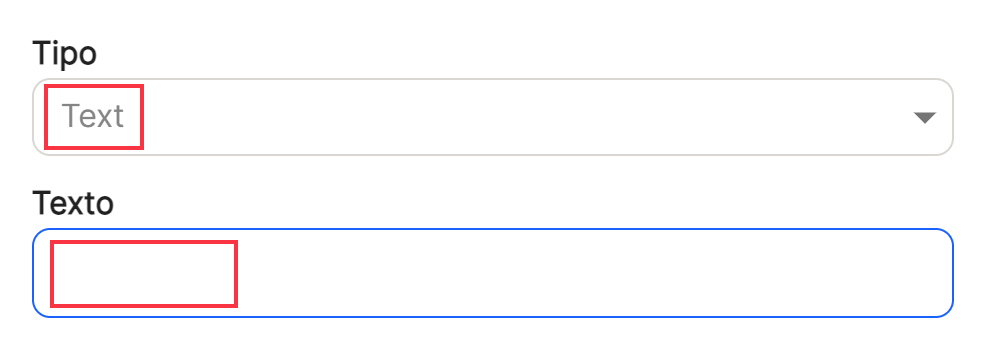
The"Text" type will offer the possibility of reflecting a series of characters that will appear in the name of the export file.
The"Collection" type will offer the possibility of reflecting in the name of the export file the name of the collection associated with that inbox.

The"Property" type will offer the possibility of reflecting in the name of the export file those properties that are selected from those configured for the inbox.

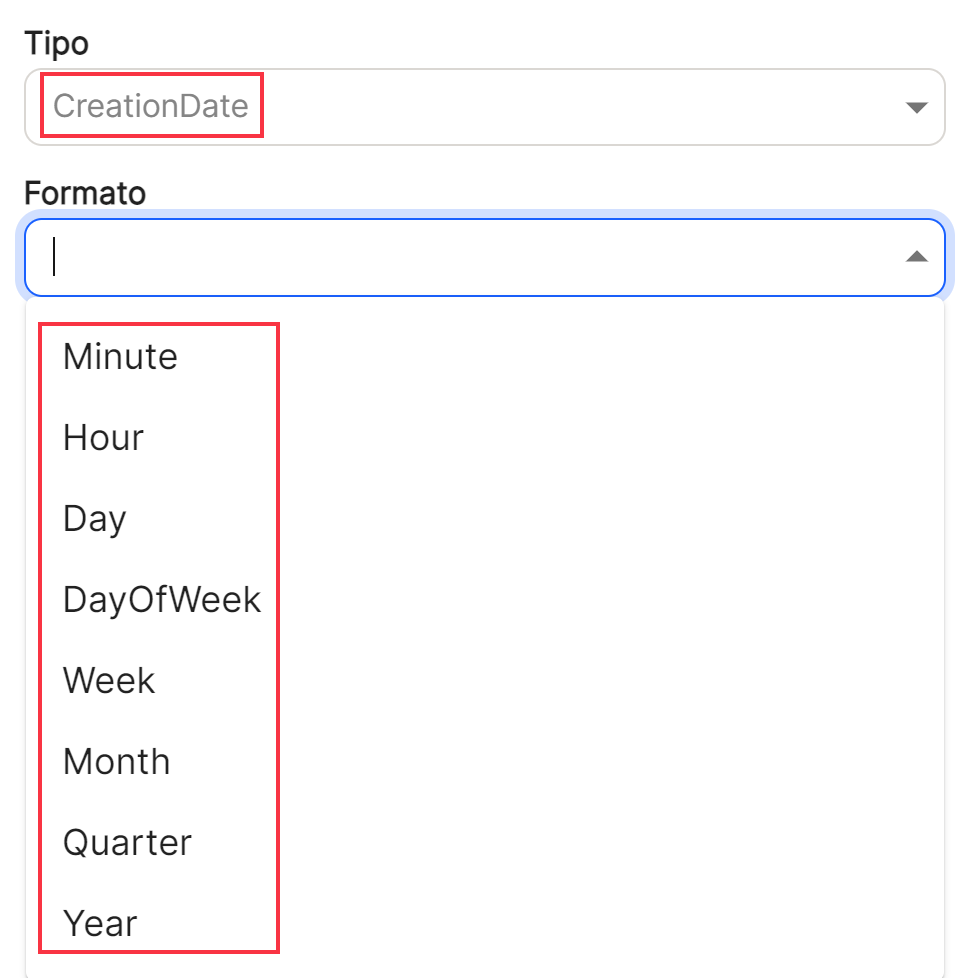
The"Creation date" type will offer the possibility of reflecting in the name of the export file the date of its creation.
Once the file tab is configured, you will get the list of options in the table, which will compose the file name. After that"Save" or"Cancel".

With the direct option to the quick access of "edit" ![]() (displays the window with the export data of that line and its configuration), you access the window that allows you to modify the export data as well as the tabs that could not be configured and that now appear active.
(displays the window with the export data of that line and its configuration), you access the window that allows you to modify the export data as well as the tabs that could not be configured and that now appear active.

After completing the previous steps, the application displays the list of all the properties registered in the application.
Using the"Search" option, we can locate and display in the table, those properties that contain in the"name" that string of characters.

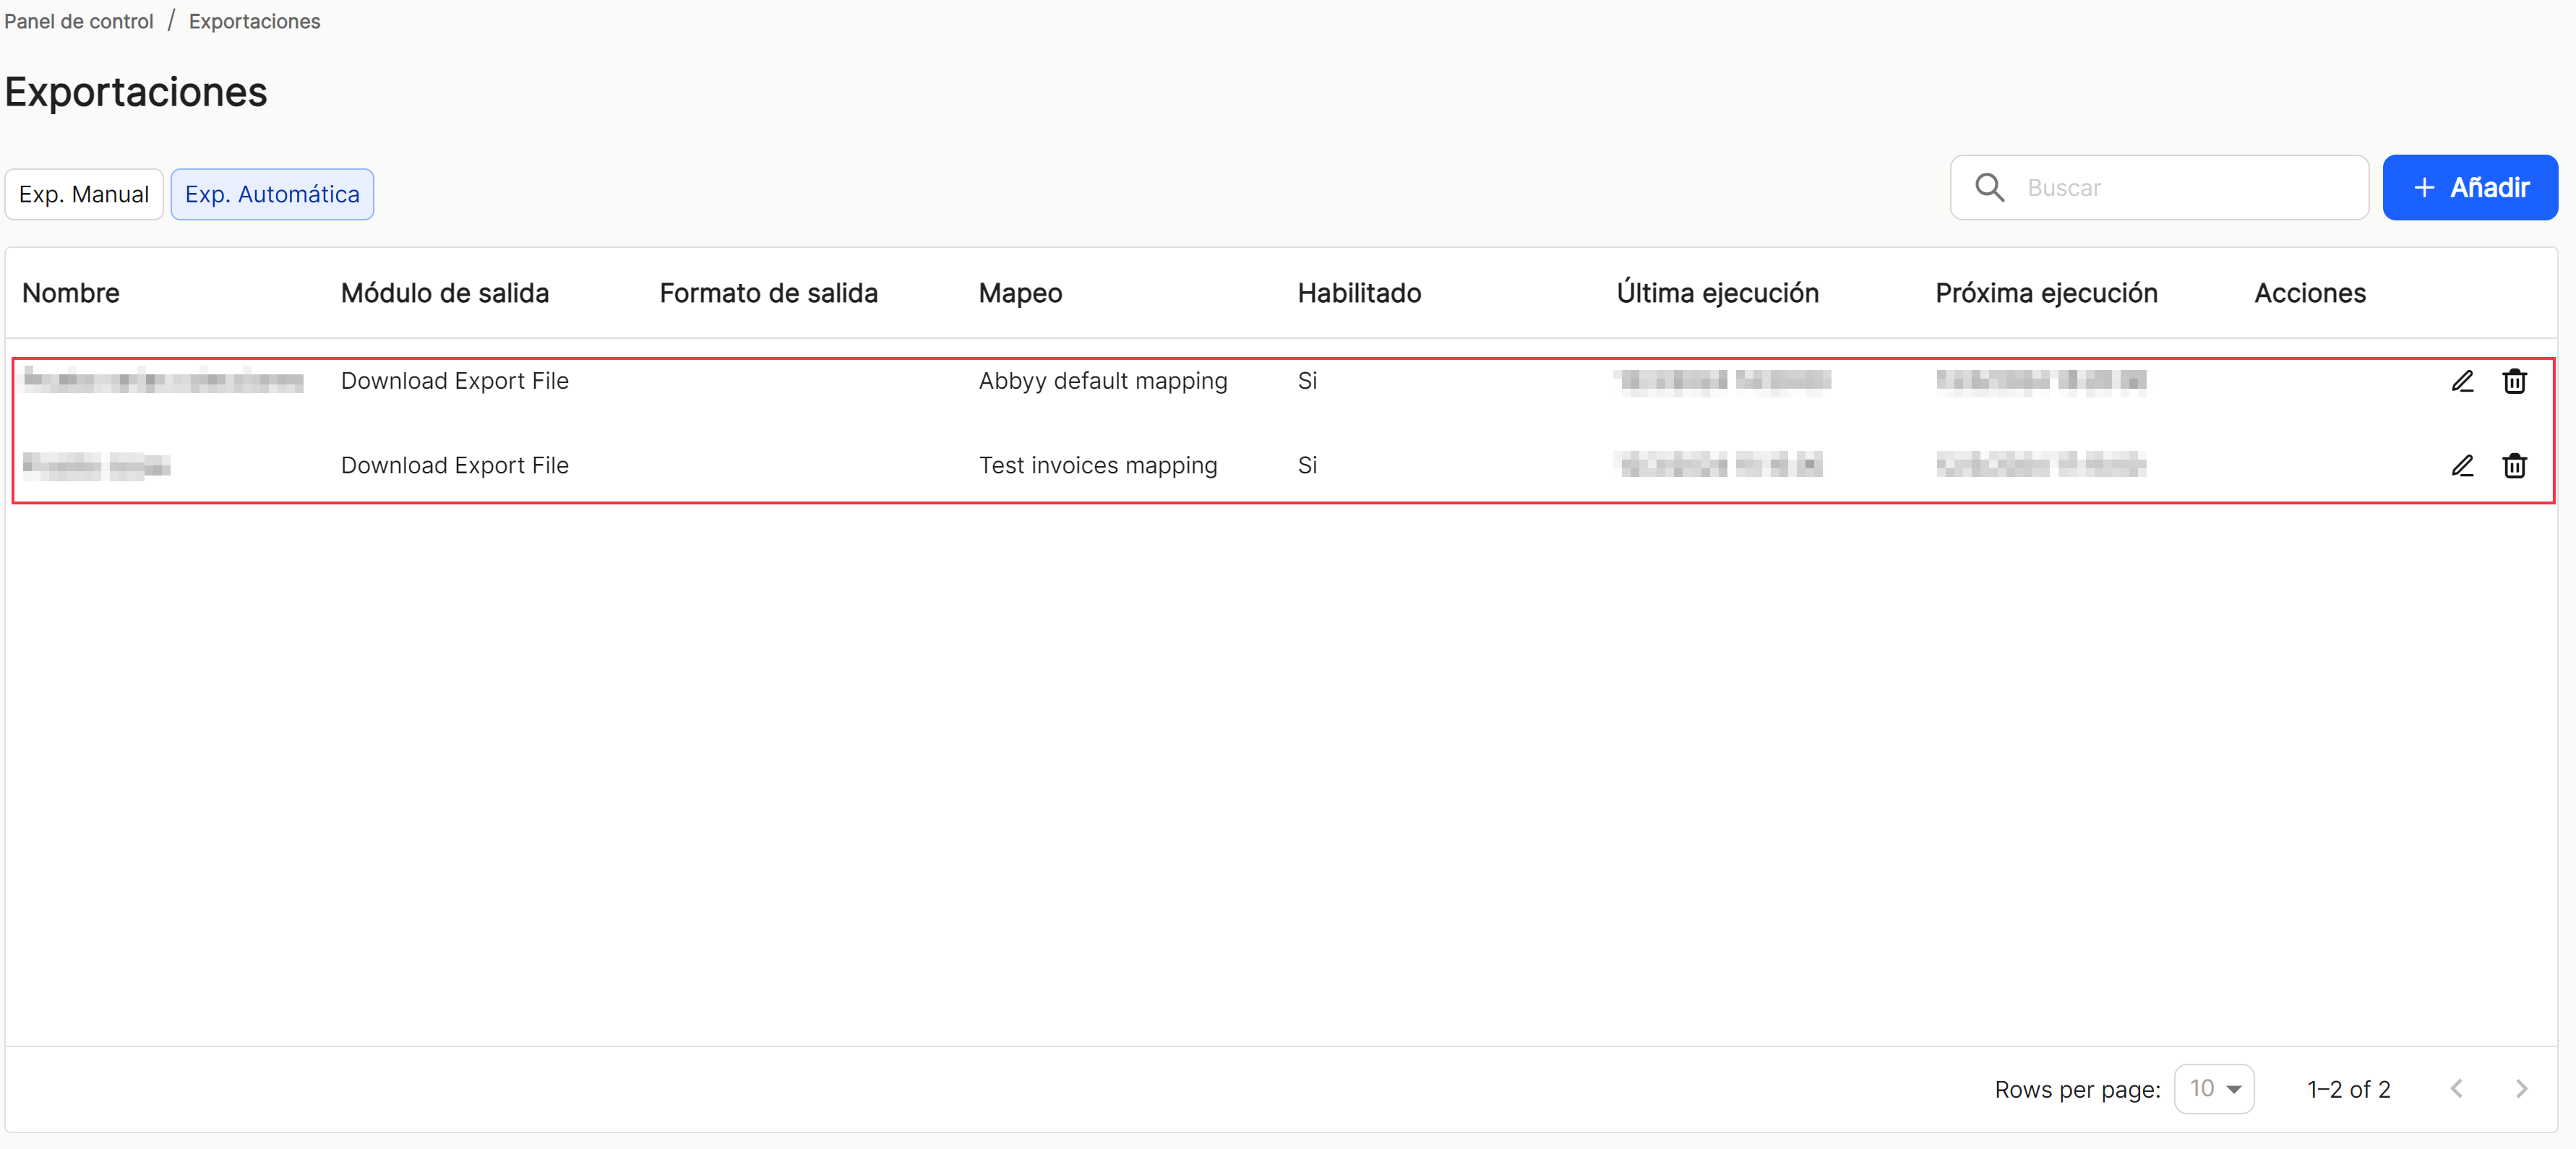
As with the rest of the application's sorting options, when displaying a table with the list of collection properties, it will show different columns, such as "Name", "Output module", "Output format", "Mapping", "Enabled", "Last execution" (date), "Forthcoming creation" (date) and "Shares"which contains the direct options to the shortcuts "edit" ![]() (displays the window with the property data of that line and its configuration) and "delete"
(displays the window with the property data of that line and its configuration) and "delete" ![]() .
.

The table listing the export properties will allow you to view and sort the different properties shown and mentioned above. You can view the resultsin different ways using thevarious display options for any of the properties.
You can attach the ones you needon the right or left.
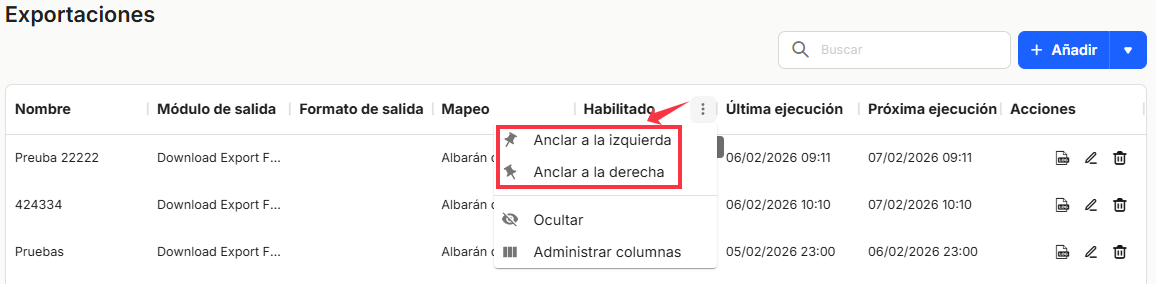
and hide or managewhich columns aredisplayed.
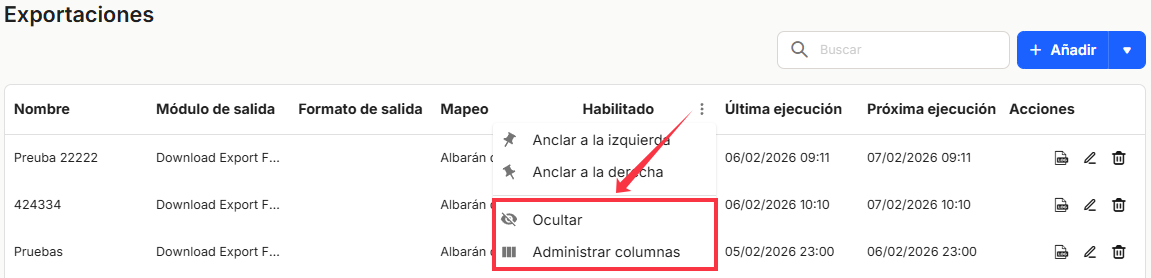
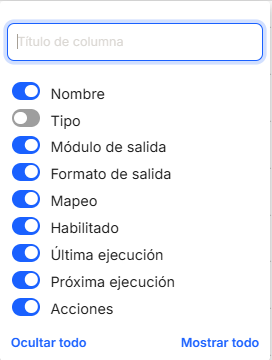
Thesesettings are not saved and are only applicable while the user is in the window displaying the task list.
With the direct option to the quick access of "edit" ![]() (displays the window with the export data of that line and its configuration), you access the window that allows you to modify all the data and parameters of the collection. Then "Save" y "Cancel".
(displays the window with the export data of that line and its configuration), you access the window that allows you to modify all the data and parameters of the collection. Then "Save" y "Cancel".
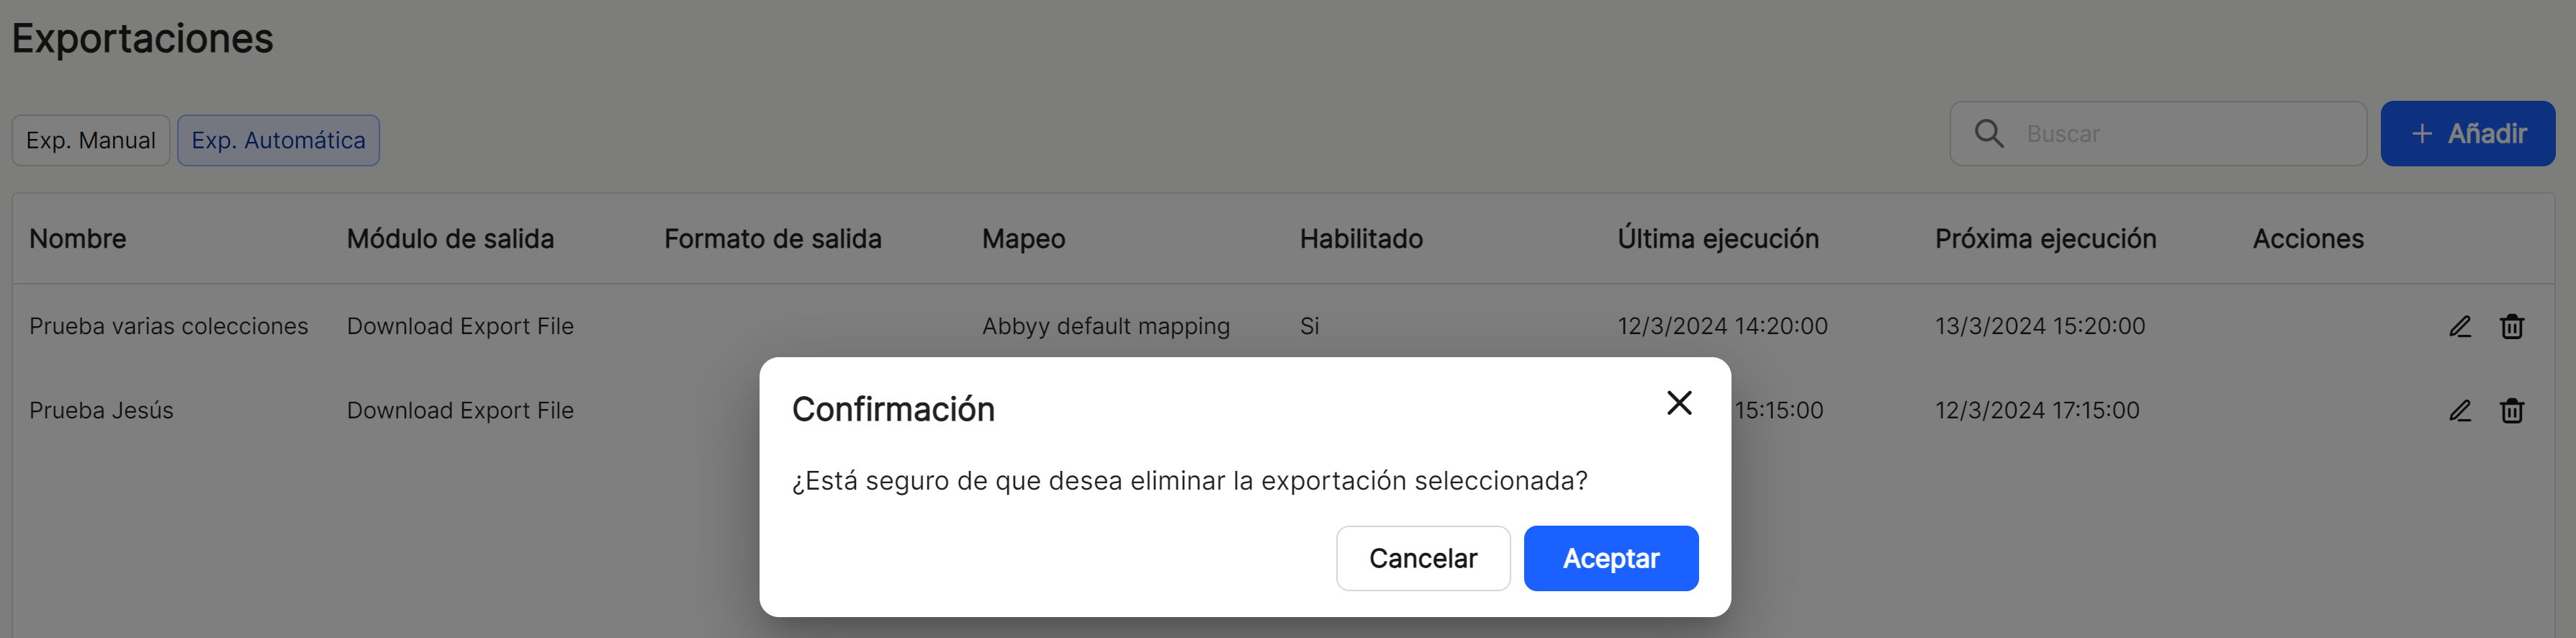
Direct access "delete" ![]() deletes the property from the application, displaying a message for confirmation or not before the action takes place.
deletes the property from the application, displaying a message for confirmation or not before the action takes place.
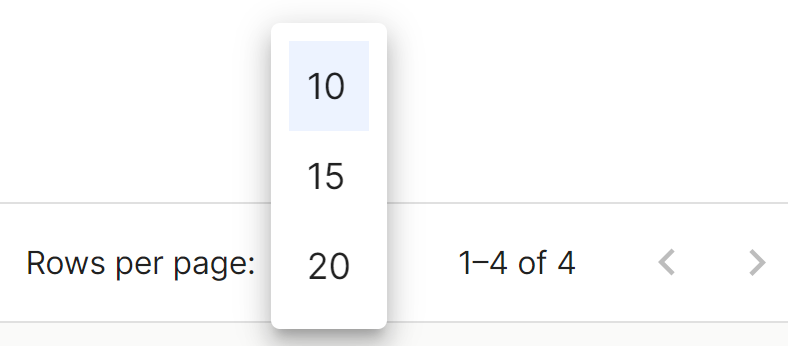
In the lower right part of the table, the total number of results obtained is shown, either without applying any type of search or filtering or applying any of the possible options. The system shows by default 10 lines per table and screen, allowing to show 15 lines or 20 lines per table and screen. It also allows forward or backward navigation in the displayed lists, depending on the pagination set.
No comments to display
No comments to display