Menu. Types of files
 TYPES OF FILES
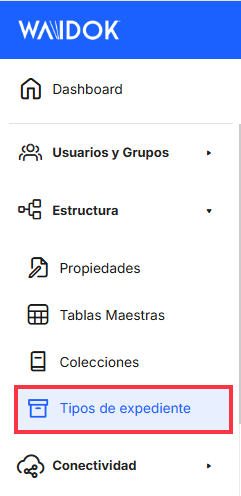
In the control panel menu, accessing from the"File types" icon, you can access this section, from which users will be able to create different types of files, with a series of characteristics and properties, which will be compiled in a list, which will be offered when creating files and document association. In this section you can register new types of files and their characteristics in the application with the necessary data, search and/or display the list of all the current properties, a series of fields (properties) as well as sorting options and actions to be executed.
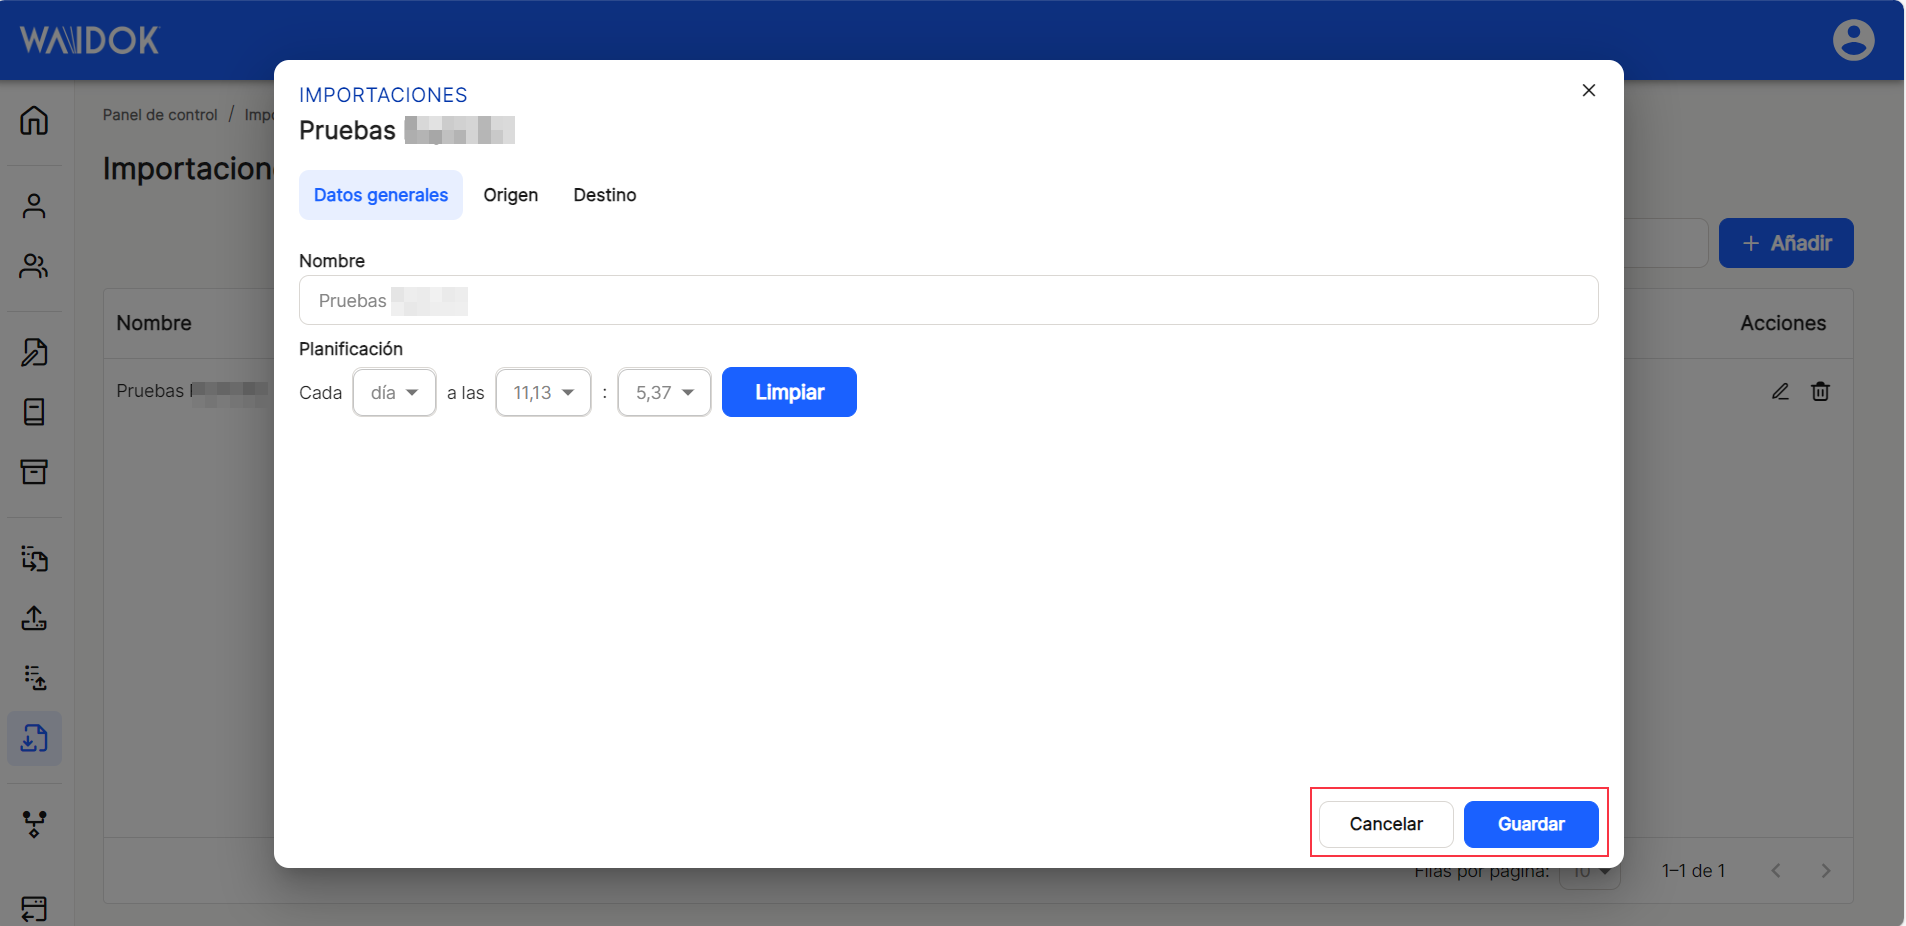
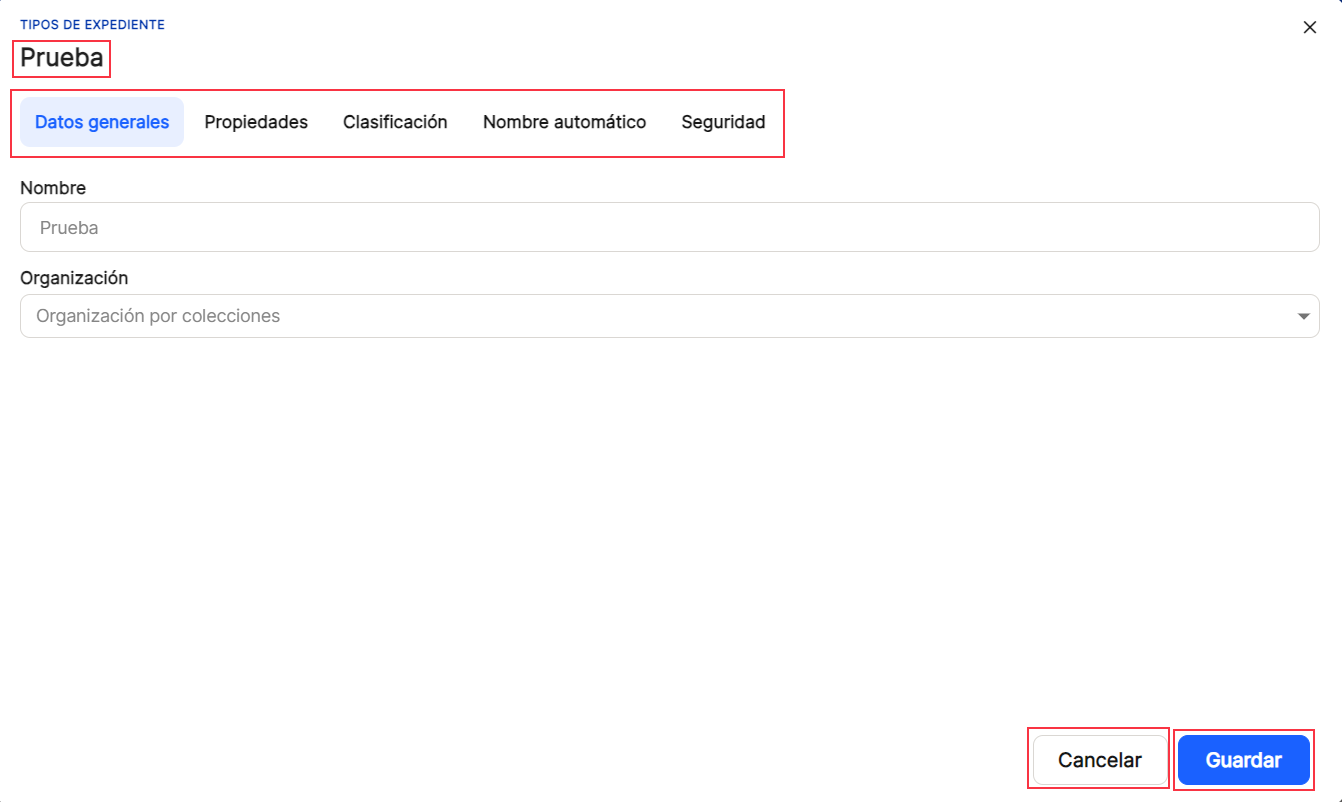
With " Add ", the application displays a new sub-window to add a new collection , where minimum mandatory fields are required to be filled out. ![]()
In the "General Information" section, enter the "Name" you want to use to identify the type of file and "Organization," which will display a list from which you can choose whether you want the documents associated with and classified within the file to be organized by collections or not. If you choose the "No organization" option, all documents in the file (regardless of the collection to which they belong) will be at the same level in the file. If you prefer to have an internal organization based on the collection to which they belong, you must choose the "Organization by collections" option.
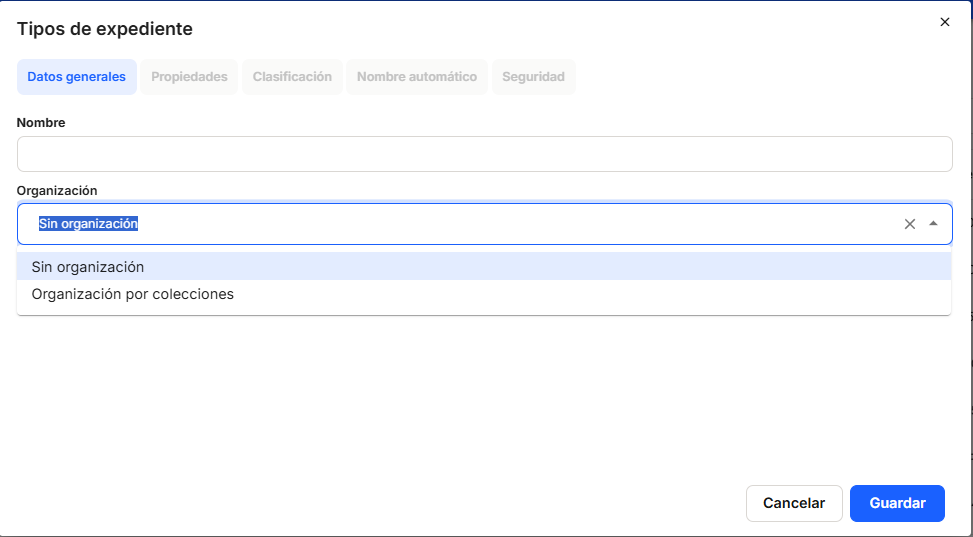
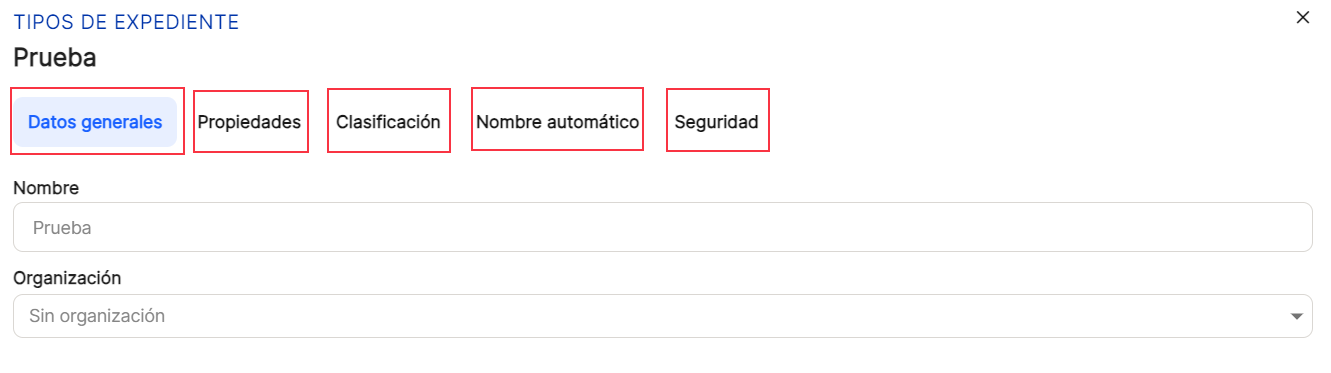
The "Properties", "Classification", "Automatic name" and "Security" tabs remain inactive and blurred in this window, since they will not be activated until the file type is saved. Once the file type is generated, to configure and complete it, the user must edit it andn the column "Actions" to be executed on the data of that line and file type. With the direct option to the quick access of "edit" ![]() (displays the window with the data of the file type of that line and its configuration), you access the window that allows you to modify the data contained in the tabs mentioned above.
(displays the window with the data of the file type of that line and its configuration), you access the window that allows you to modify the data contained in the tabs mentioned above.
RECOMMENDATION
Although it is possible to register all the necessary"File types" , completing only the"General data" tab, it is recommended to complete the remaining tabs, as they are necessary for the correct operation of the document management system.
With the direct option to the quick access of "edit" ![]() (displays the window with the data of the file type of that line and its configuration), you access the window that allows you to modify the general data of the collection as well as the tabs that could not be configured and that now appear active.
(displays the window with the data of the file type of that line and its configuration), you access the window that allows you to modify the general data of the collection as well as the tabs that could not be configured and that now appear active.

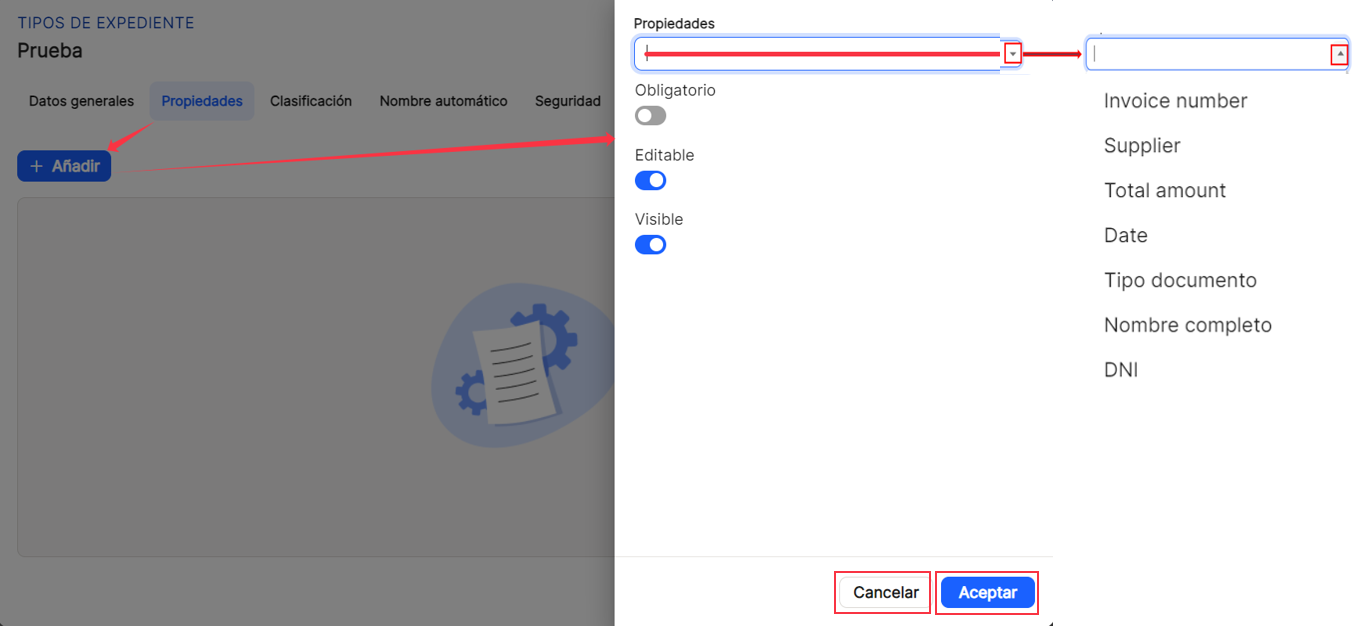
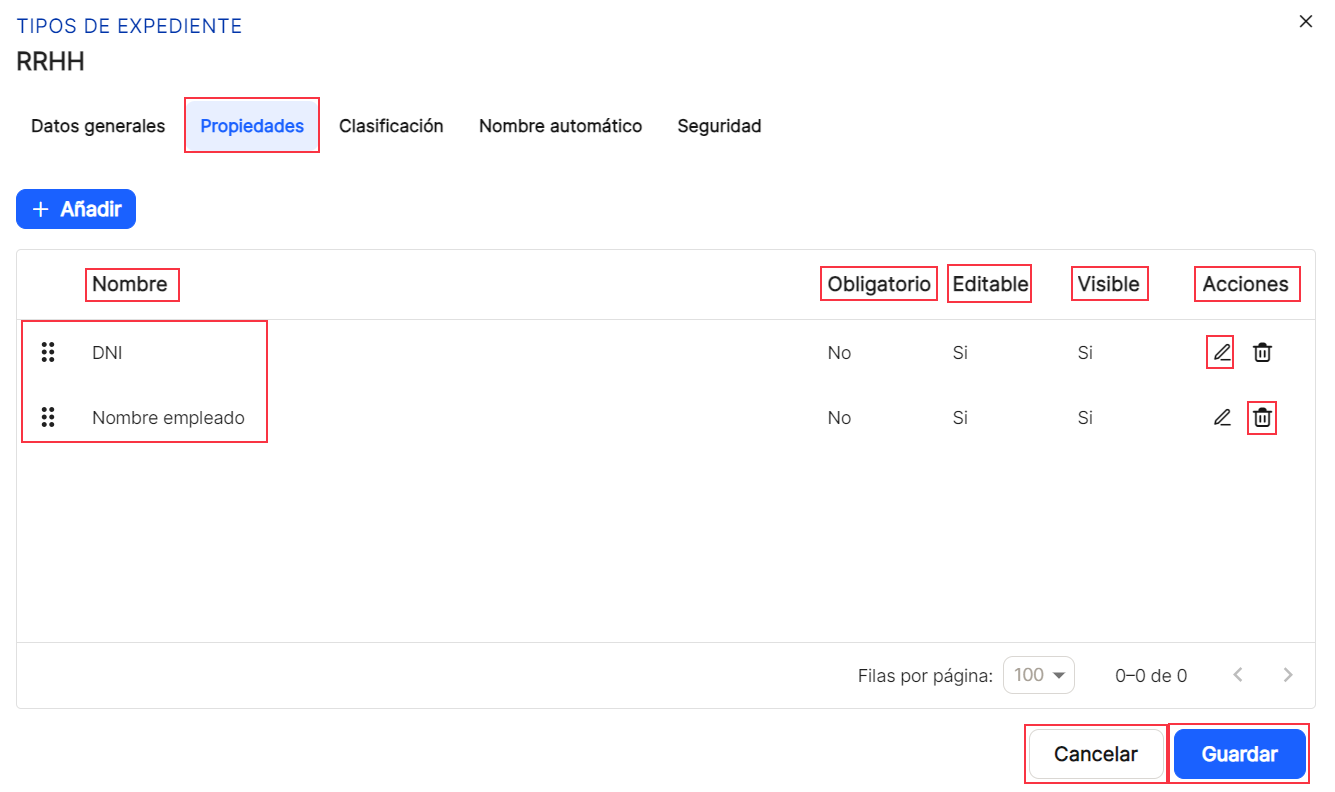
Properties. Are added to the "Type of file"those properties that are necessary, and that will be able to be selected based on those that have been previously registered. To do this, once you access the "Properties" and clicking on "add", a new properties subwindow will be displayed. In it, either by clicking on the box itself or by clicking on the icon![]() or on the icon
or on the icon ![]() , will expand or collapse the list of properties already established, so you can select all the ones you are interested in for that collection. You will also need to define other options, which are activated or deactivated with the switch, such as "Mandatory" (whether or not its completion will be mandatory), "Editable" (whether it will be possible to modify it or not)and "Visible" (whether it will be viewable or not when viewing the properties of a document). Also in this part of the properties you need to configure both the "order" (this is where the property will appear within the ordered collection) as well as the "area" (area where it will be placed in the document). After completing, as always, save or cancel.
, will expand or collapse the list of properties already established, so you can select all the ones you are interested in for that collection. You will also need to define other options, which are activated or deactivated with the switch, such as "Mandatory" (whether or not its completion will be mandatory), "Editable" (whether it will be possible to modify it or not)and "Visible" (whether it will be viewable or not when viewing the properties of a document). Also in this part of the properties you need to configure both the "order" (this is where the property will appear within the ordered collection) as well as the "area" (area where it will be placed in the document). After completing, as always, save or cancel.
Once you proceed to"Save", you can see in the table of that tab, the list of the generated properties. In this case, the data of"Name","Required","Editable","Visible" and the possibilities of direct access in"Actions" are shown, both the one of ![]() "Edit" the different properties, as well as that of the
"Edit" the different properties, as well as that of the ![]() "Delete" each of the properties. All properties will have the usual column sorting possibilities that will be explained below, as they are always common for main and subwindows.
"Delete" each of the properties. All properties will have the usual column sorting possibilities that will be explained below, as they are always common for main and subwindows.
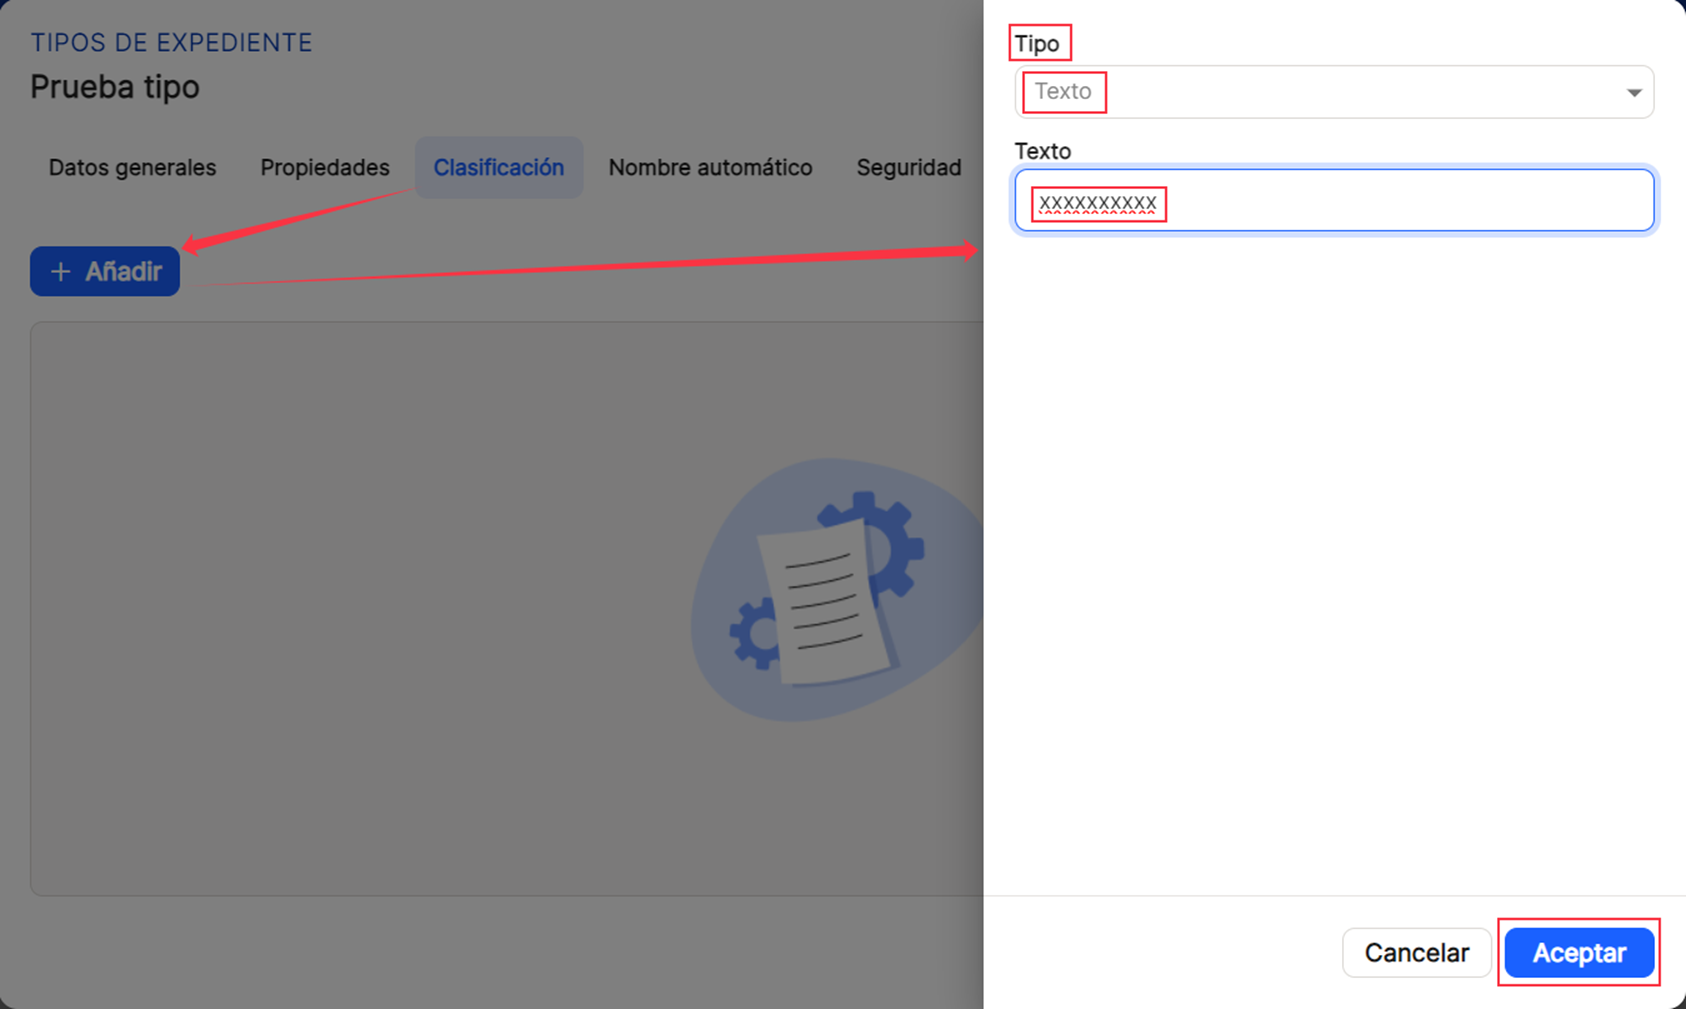
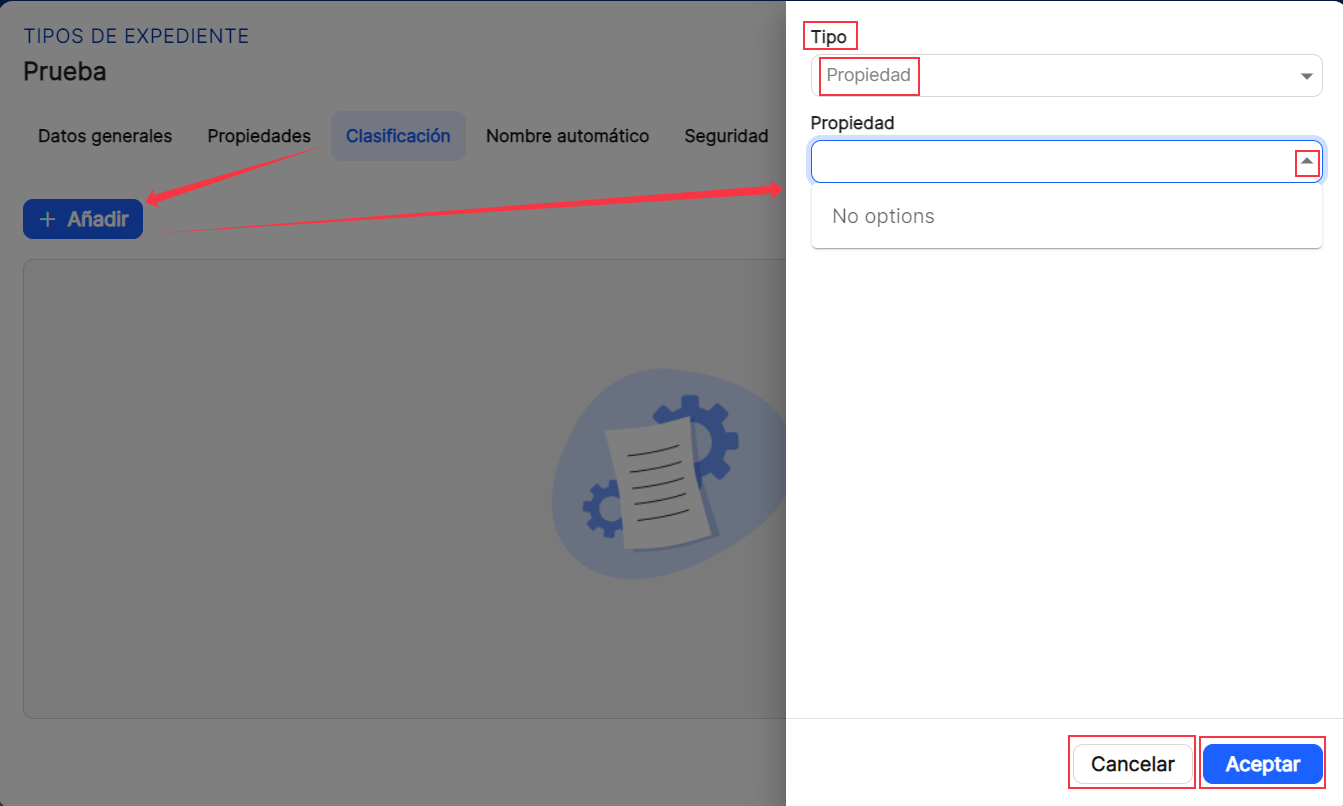
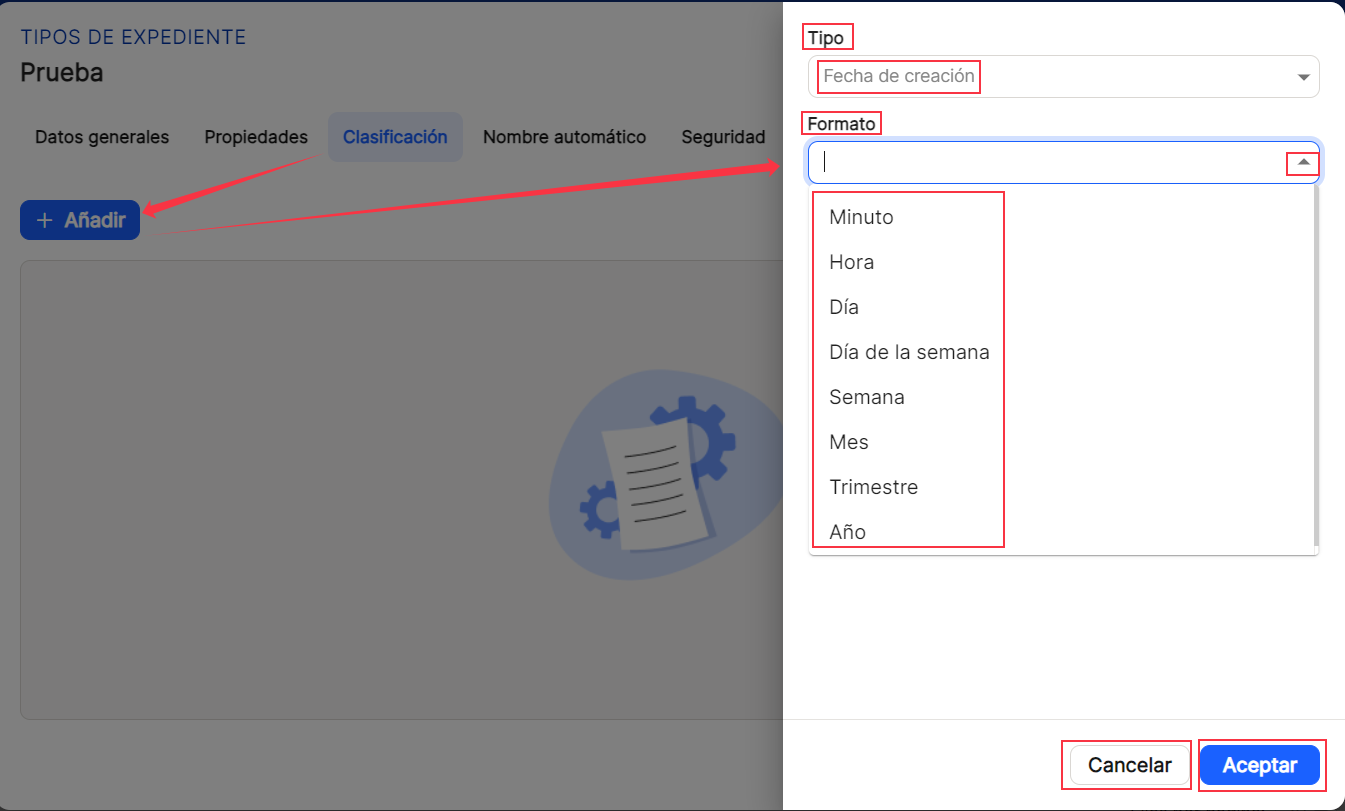
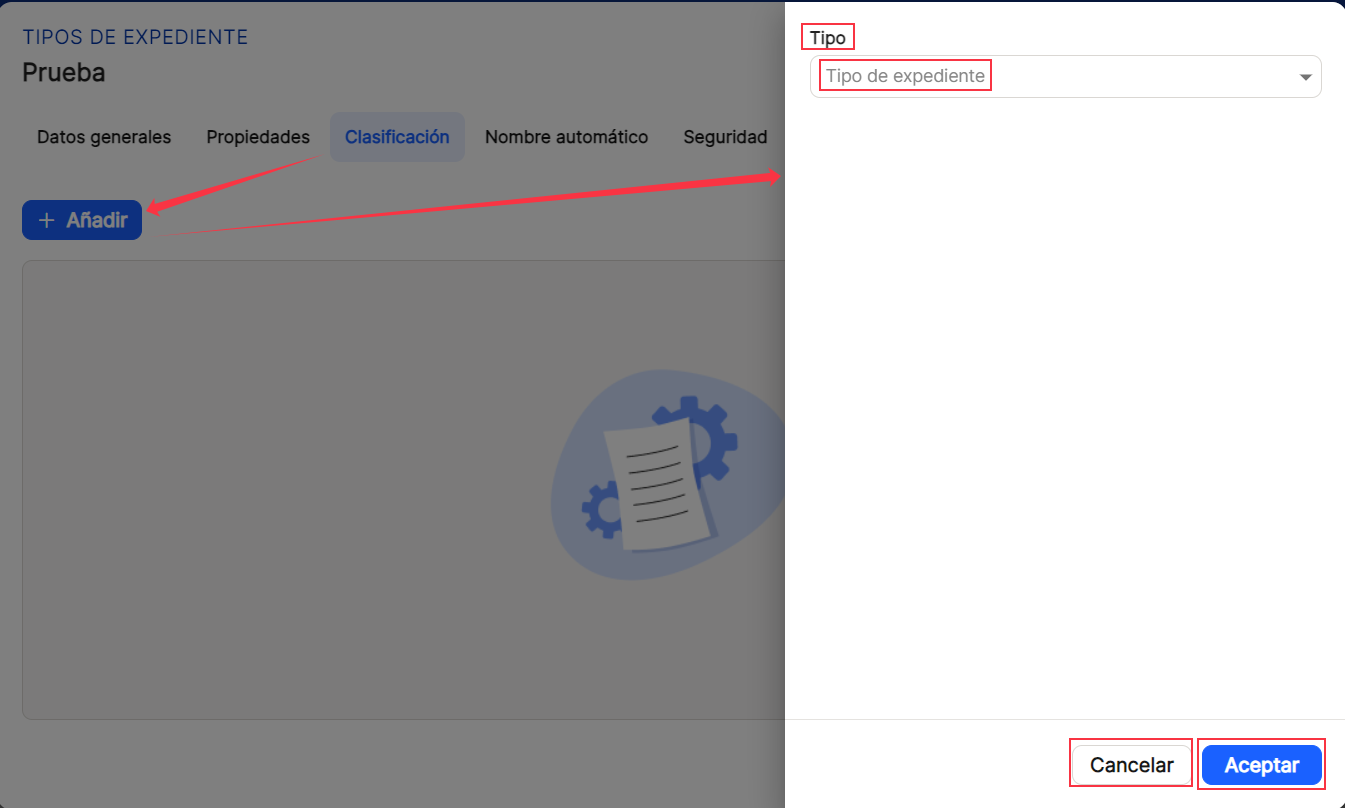
Classification. In the " tabClassification", you can establish what the classification format of the documents will be within the collections. It is necessary to reflect in a mandatory manner the Type. You must also define the desired classification level. In it Guy, you can choose between text free, a property The date of creation, with a series of predefined formats, ranging from minute, hour, day, day of the week, week, month, quarter or year, or the type of file, choosing from all those defined. In the box, either by clicking on the box itself or by clicking the icon![]() or on the icon
or on the icon ![]() , will expand or collapse the list of properties already set, allowing you to select the ones you're interested in. Alternatively, you'll need to select some of the date options already provided in the system. After completing the form, as usual, select Save or Cancel.
, will expand or collapse the list of properties already set, allowing you to select the ones you're interested in. Alternatively, you'll need to select some of the date options already provided in the system. After completing the form, as usual, select Save or Cancel.
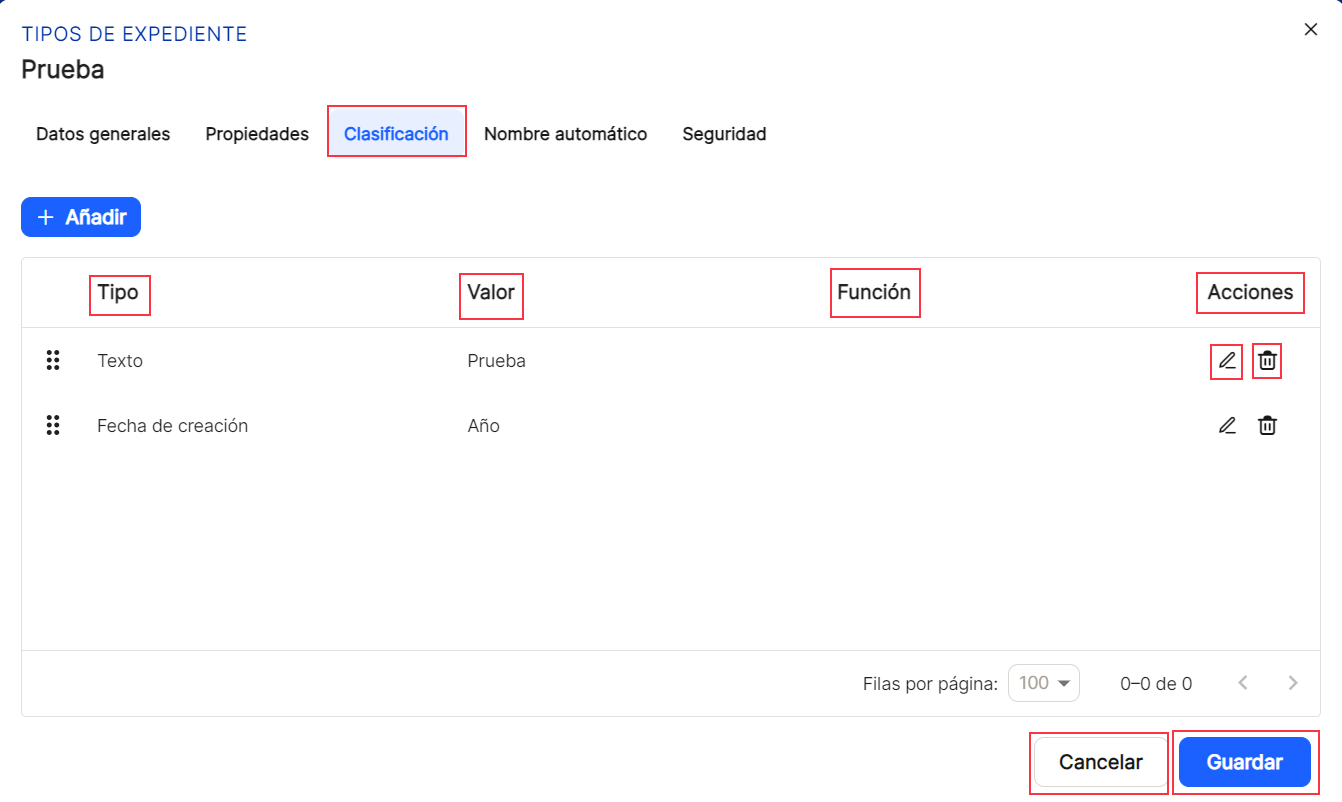
Once you proceed to"Save", you can see the list of generated properties in the table of this tab. In this case, the data of"Type","Value","Functions" and the possibilities of direct access in"Actions" are shown. All properties will have the usual column sorting possibilities, which will be explained below, as they are always common for main and subwindows.
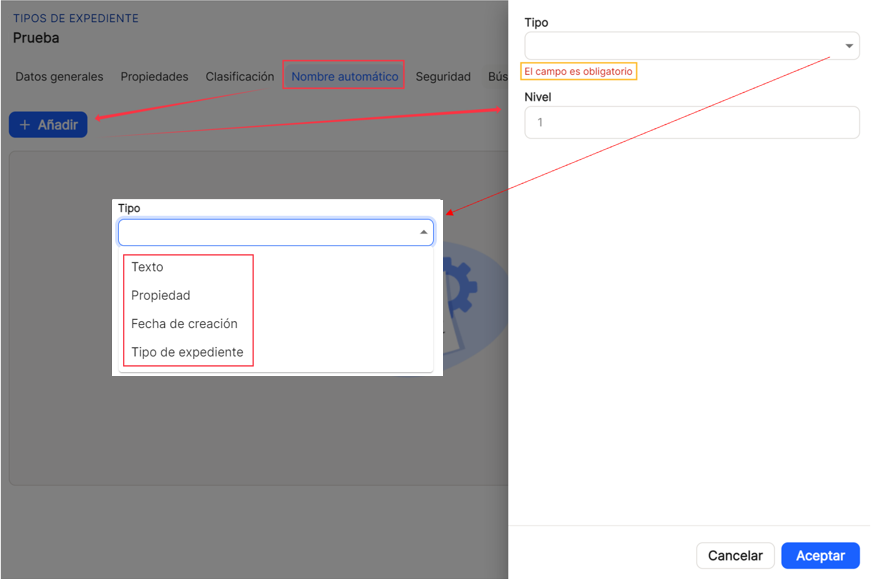
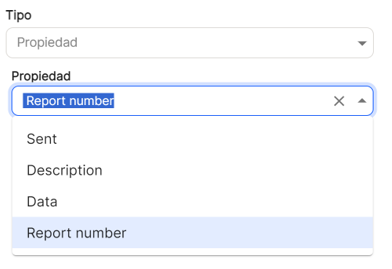
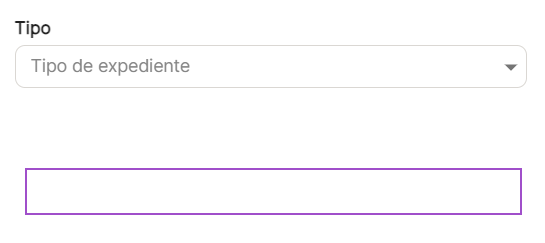
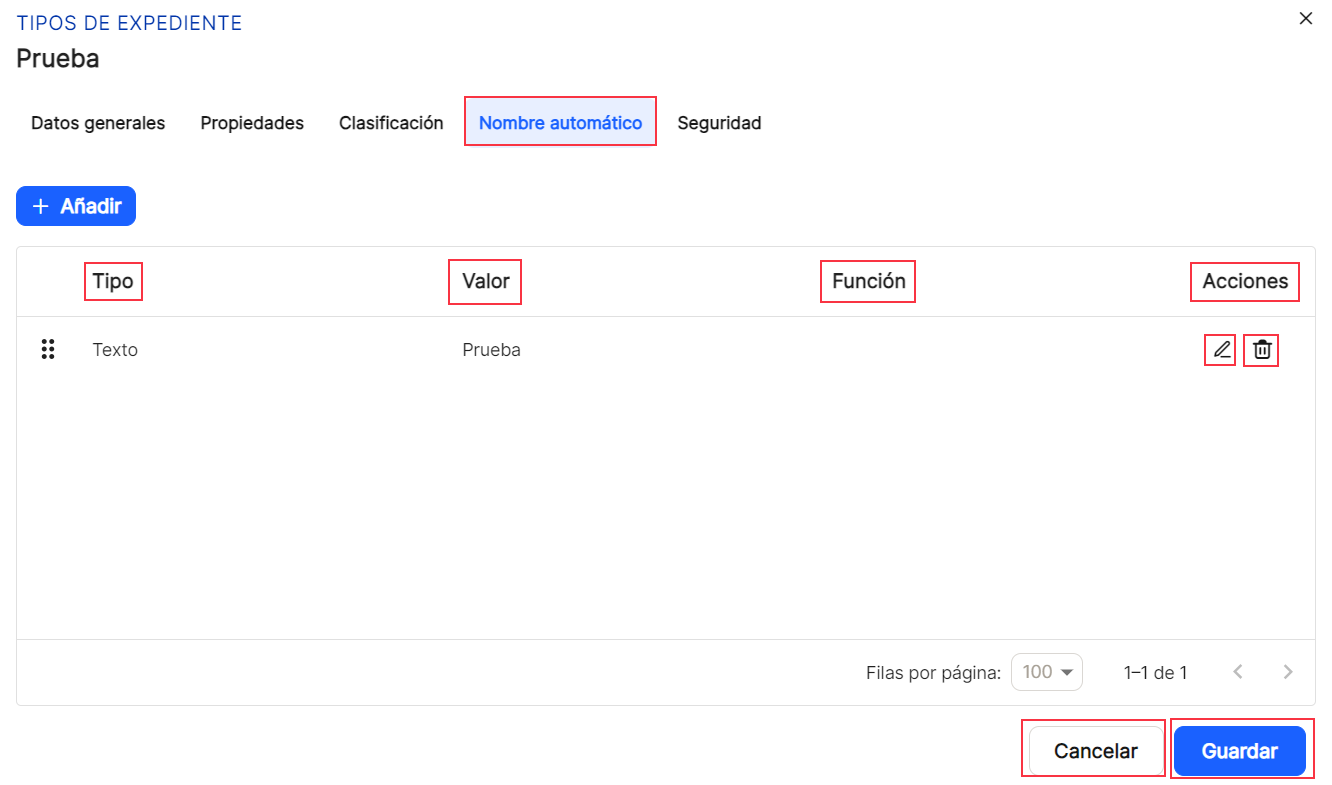
Automatic name. In the"Automatic name" tab, this is the option that allows the system to give a name to the file that will be created and that will contain the corresponding documents, regardless of the collections that have been defined for each document that will be incorporated into the system. For this purpose, theIt is necessary to reflect the T in a mandatory mannerType. In turn, within this option you can select between the options "Text", "Property", "Creation date" and "Date of creation". (date of creation of the document in the system, in Waydok, i.e. when it is incorporated into the application once validated) and "Type of file". In the box, either by clicking on the box itself or by clicking on the icon![]() or on the icon
or on the icon ![]() , will expand or collapse the list of properties already set, allowing you to select the ones you're interested in. Alternatively, you'll need to select some of the date options already provided in the system. After completing the form, as usual, select Save or Cancel.
, will expand or collapse the list of properties already set, allowing you to select the ones you're interested in. Alternatively, you'll need to select some of the date options already provided in the system. After completing the form, as usual, select Save or Cancel.
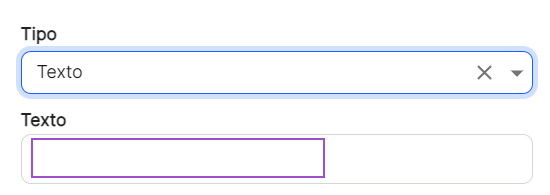
With the sub option of type"Text" the user will define in free text how he wants the documents to be named in the application at the time of generating the automatic name, in the"Text" box reflecting the string of characters that are wanted.
With the sub option of type"Property" the user will define which property or properties, since several can be selected, he/she wants to add when generating the automatic name.
With the sub option of type"Creation date" (creation date of the document in the system, in Waydok, i.e. when it is added to the application once validated), the user will define if he/she needs to add this data, in the format that has been defined (minute, hour, day, weekday, week, month, quarter or year) when generating the automatic name.

With the sub option of type"Type of file" the user will define this data, using the drop-down list with the previously defined types.
Once you proceed to"Save", you can see the list of generated properties in the table of this tab. In this case, the data of"Type","Value","Function" and the possibilities of direct access in"Actions" are shown. All properties will have the usual column sorting possibilities, which will be explained below, as they are always common for main and subwindows.
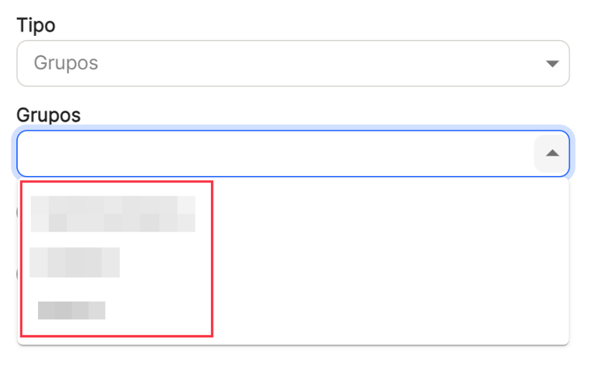
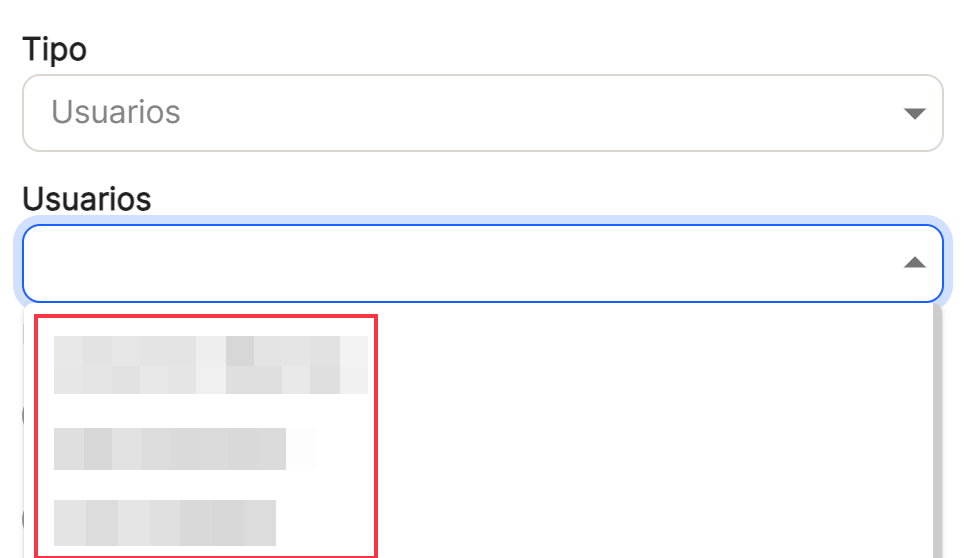
Security. With the sub option of type"Security". You can assign to which"Group" or"User" (both options are not possible), what kind of permissions are granted to them, "Permission by property", "Write permission" and"Export permission", in order to be able to perform these operations with the files.
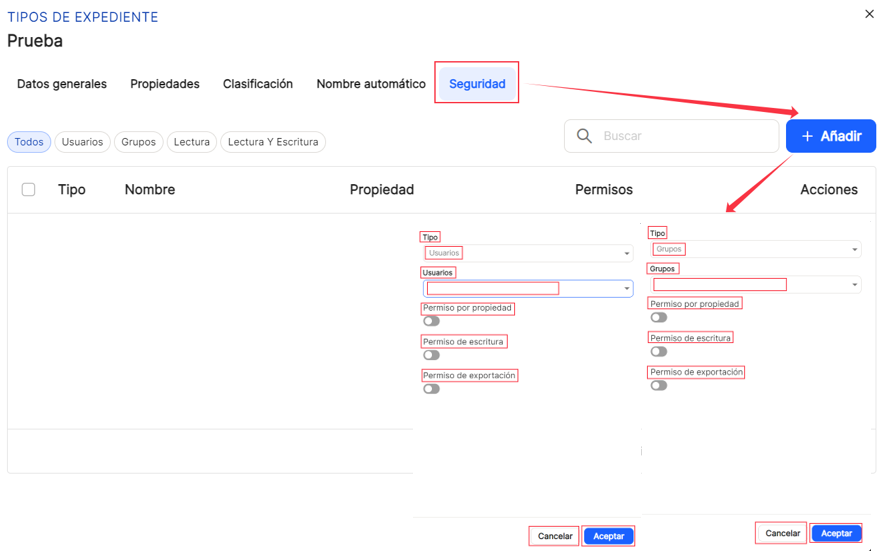
By default, the first option is " Groups ," where you'll need to choose one of those previously registered in the application. In the case of " Users ," you'll need to select a user from the list of those previously created. Once selected, you'll proceed to assign the desired permissions, using the switches to enable or disable the actions you want to allow for the affected group.
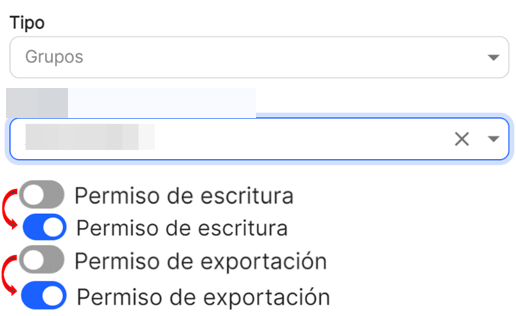
 Once you have selected a group or a user, you must establish which permissions are granted to them. permissions are granted to them, "Permission by property", "Write permission" and"Export permission", in order to be able to perform these operations with the documents in collections. To do this, it is possible to activate or deactivate these types of permissions using the switch icon.
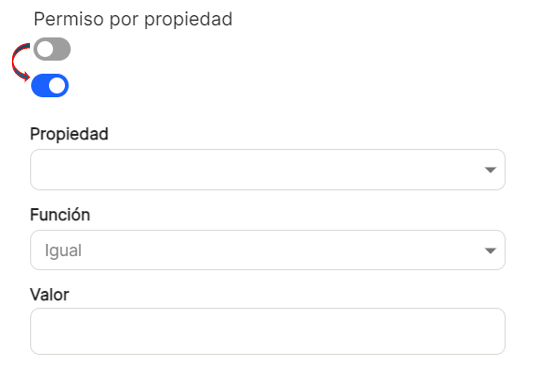
The "Permission by property" allows you to define the property to which you want to grant permission, in combination with the "equal" or "different" function, when a "value" is subsequently defined in the corresponding box.


Once you proceed to"Save", you can see in the table of that tab, the list of generated properties. Depending on the filter used by selecting"All" (includes groups and users),"groups","users","read" (groups or users with this type of permissions) and"Read and write" (groups and users with both types of permissions). In this case, the data of"Type","Name","Property","Permissions" and the possibilities of direct access in"Actions" are shown. All properties will have the usual column sorting possibilities, which will be explained below, as they are always common for main and subwindows. In addition, the possibility of"Search" is added here, to locate group(s) and/or user(s), which contain the indicated characters, always at least two (e.g. ad ) are needed.

In all windows and sub-windows, after completing the minimum or corresponding data, proceed to"save", if you want to continue with the recording of a new property or its configuration, or"cancel", if you do not want to save.
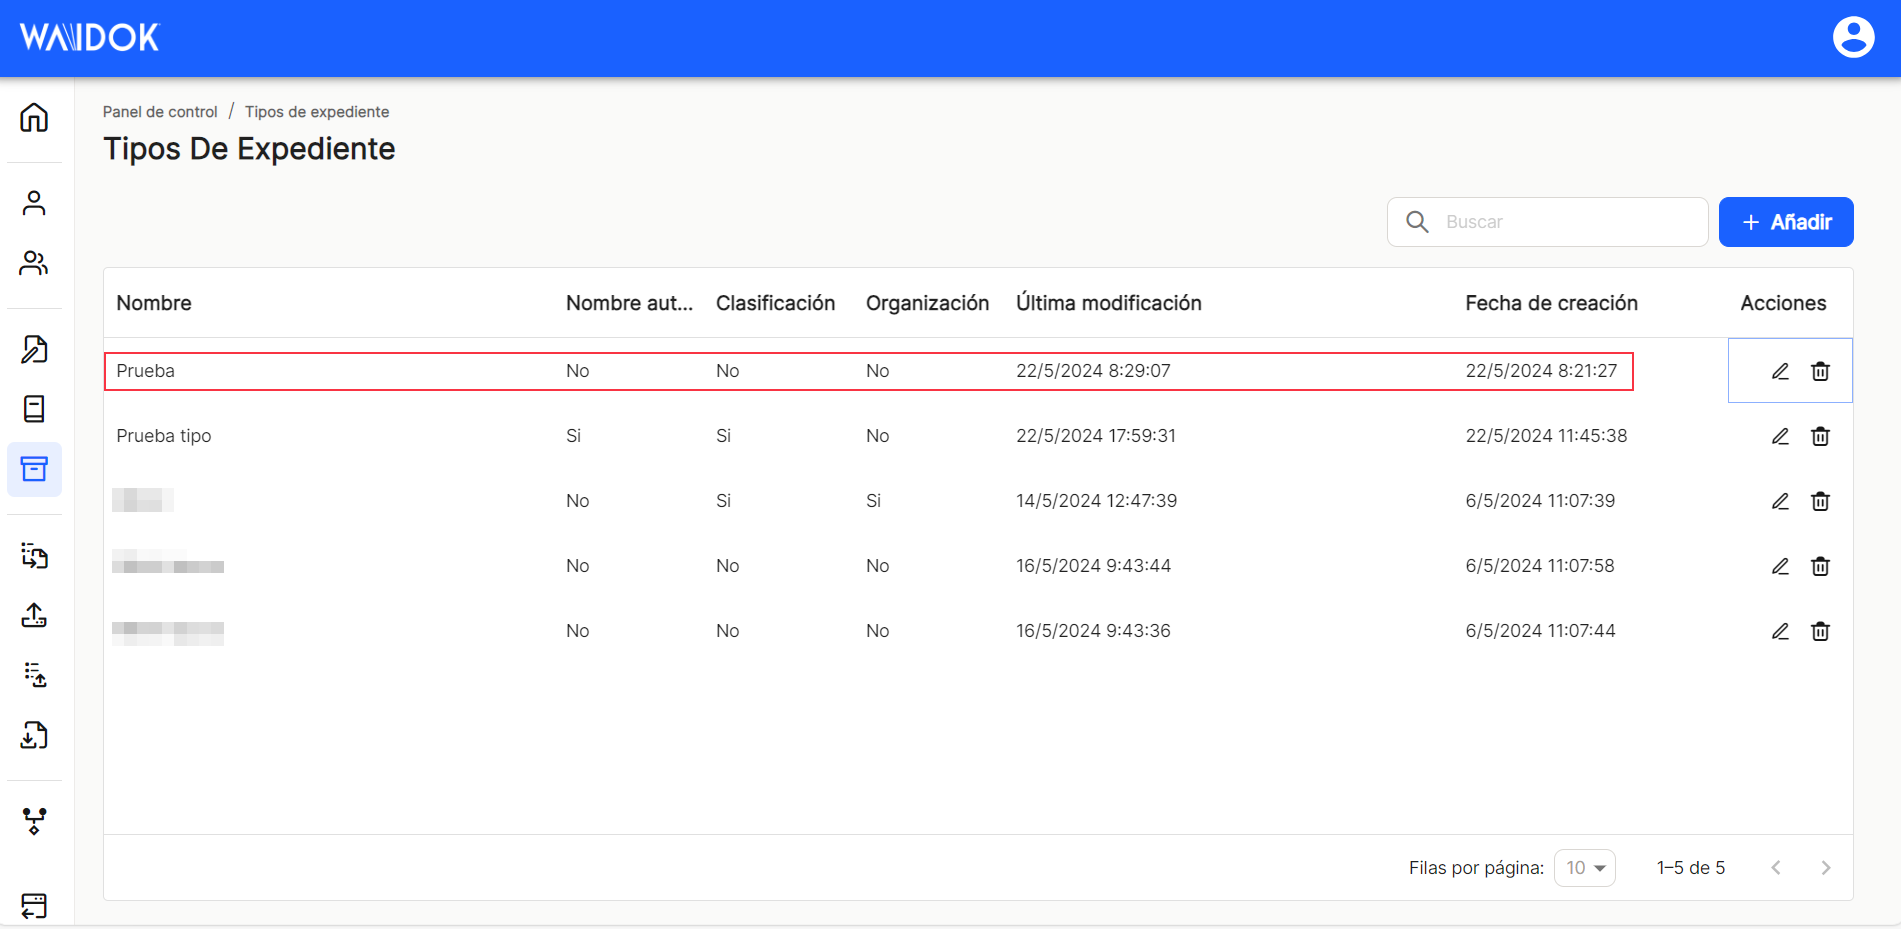
After completing the previous steps, the application displays the list of all the properties registered in the application.
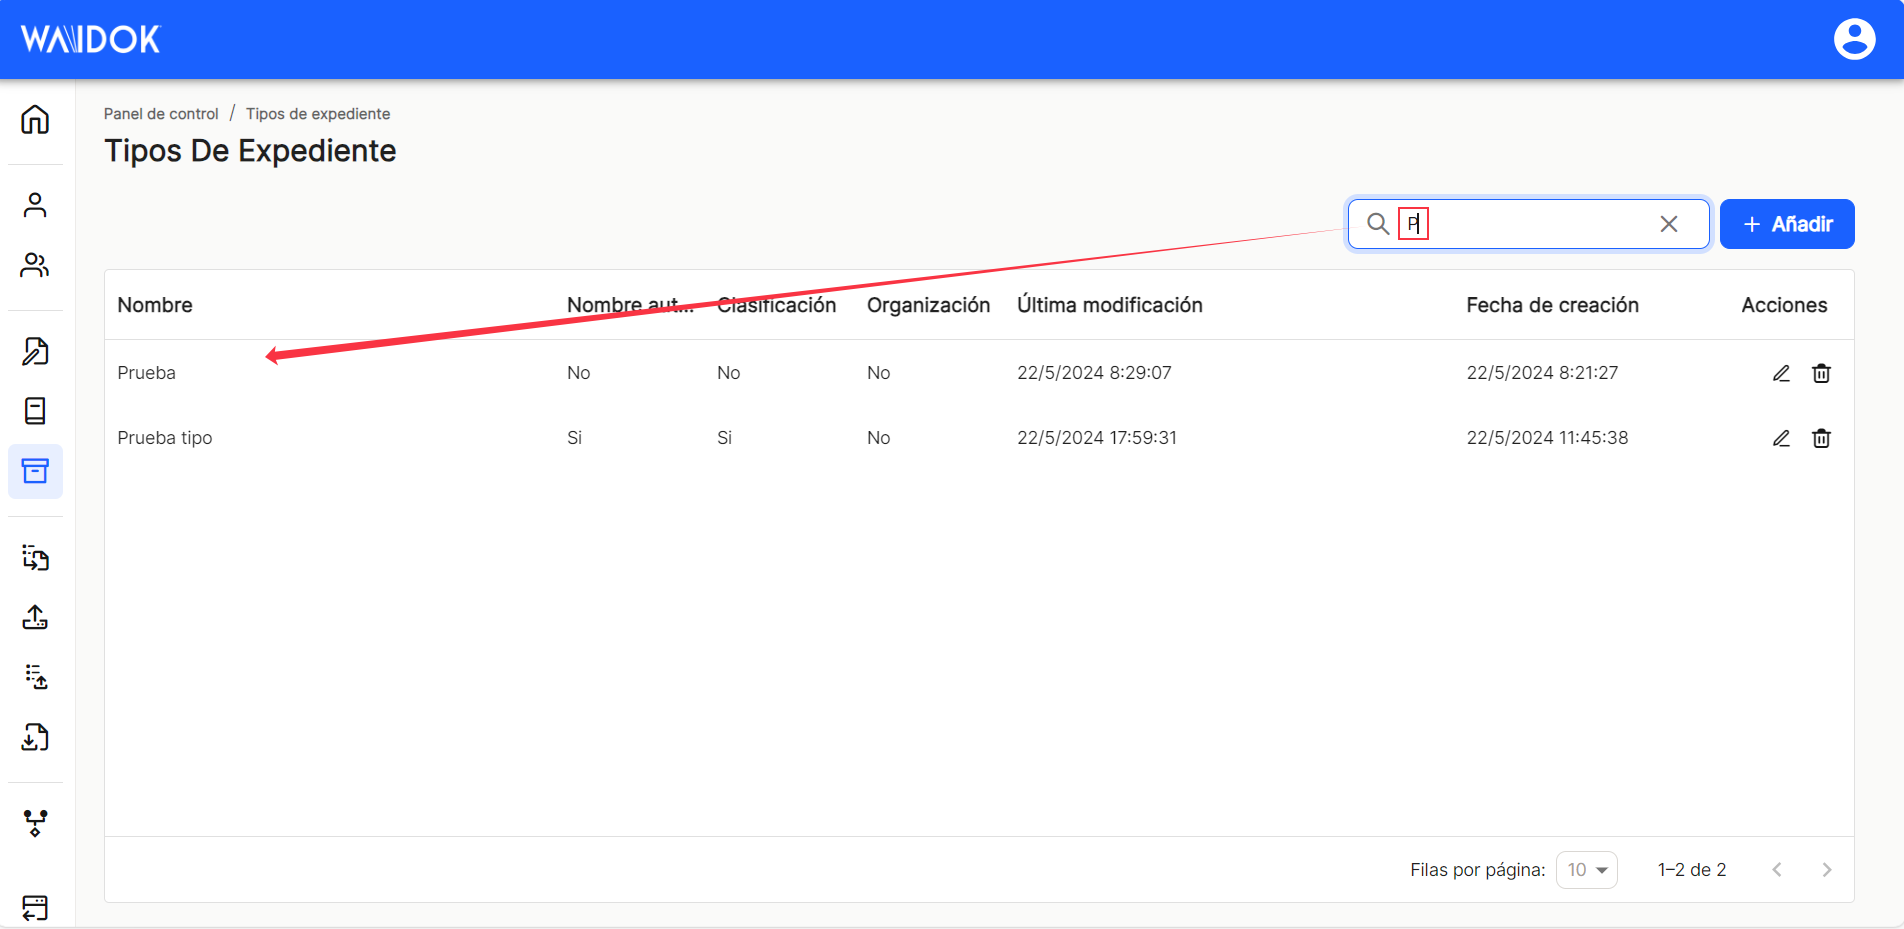
Using the"Search" option, we can locate and display in the table, those properties that contain in the"name" that string of characters.
As in the rest of the sorting options of the application, when displaying a table with the list of properties of the files, it will show different columns, such as "Name", "Automatic Name", "Organization", "Last modified" (date), "Creation Date"and "Shares"which contains the direct options to the shortcuts "edit" ![]() (displays the window with the property data of that line and its configuration) and "delete"
(displays the window with the property data of that line and its configuration) and "delete" ![]() .
.
The table listing the properties of the files will allow you to view and sort the different properties shown and mentioned above. You can view the resultsin different ways using thevarious display options for any of the properties.
You can attach the ones you needon the right or left.

and hide or manage which columns will be displayed.

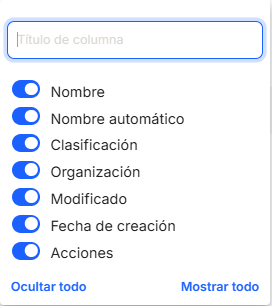
Thesesettings are not saved and are only applicable while the user is in the window displaying the task list.
With the direct option to the quick access of "edit" ![]() (displays the window with the property data of that line and its configuration), you access the window that allows you to modify all the data and parameters of the collection.
(displays the window with the property data of that line and its configuration), you access the window that allows you to modify all the data and parameters of the collection.
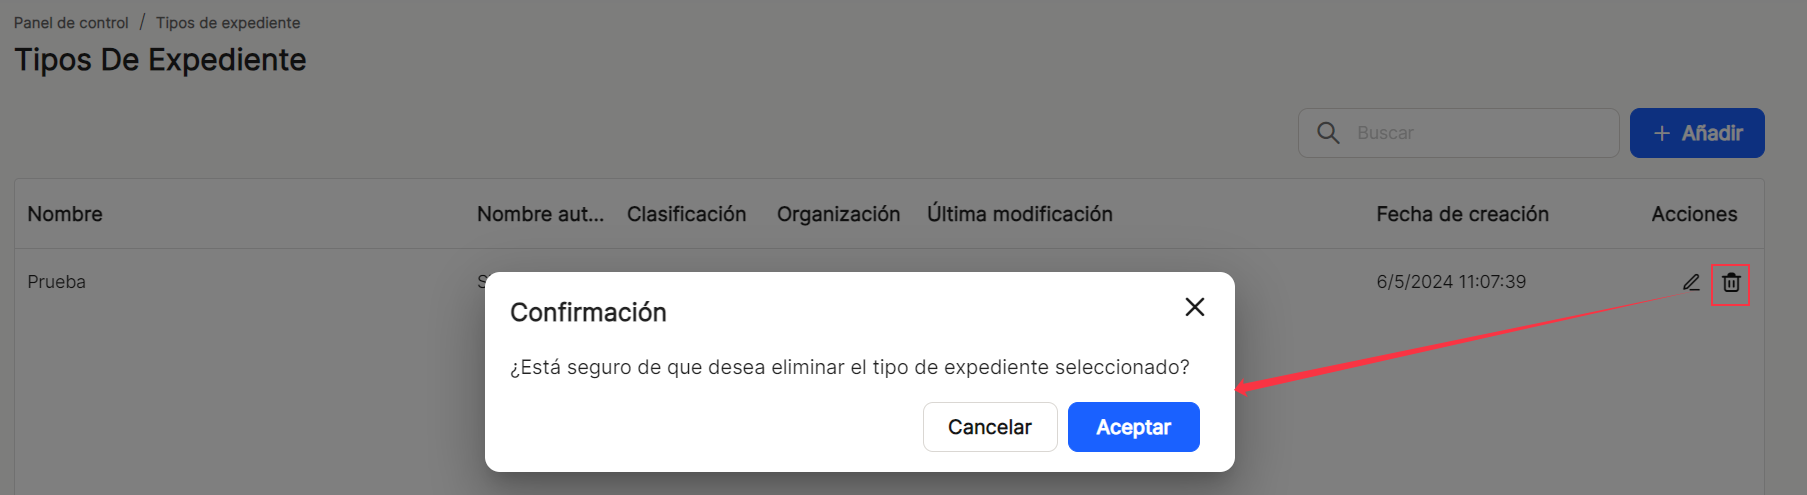
Direct access "delete" ![]() deletes the property from the application, displaying a message for confirmation or not before the action takes place.
deletes the property from the application, displaying a message for confirmation or not before the action takes place.
At the bottom right of the table, the total number of results obtained is displayed, either without applying any type of search or filtering or with one of the possible options applied.

No comments to display
No comments to display