Menu. Imports
![]() IMPORTS
IMPORTS
From this section, users will be able to see in a table a list of all the imports that have been made. In this, the user will be able to know and define document imports, whose source will be the attachments coming from e-mails that are validated in the application. The imports of documents attached to e-mails will be incorporated directly into one of the inboxes previously defined in the application, to be later incorporated into the collections or files that are determined. The main utility of this functionality is to obtain in an automated way and incorporate to the application, documents that are attached to emails, which are usually repeated over time.
With"Add", the application displays a new subwindow to register a new import, where minimum mandatory fields to be filled in are required.Imports" can be generated, since they will be programmed in time, with the parameters and configurations that are established, being unattended executions by the user.
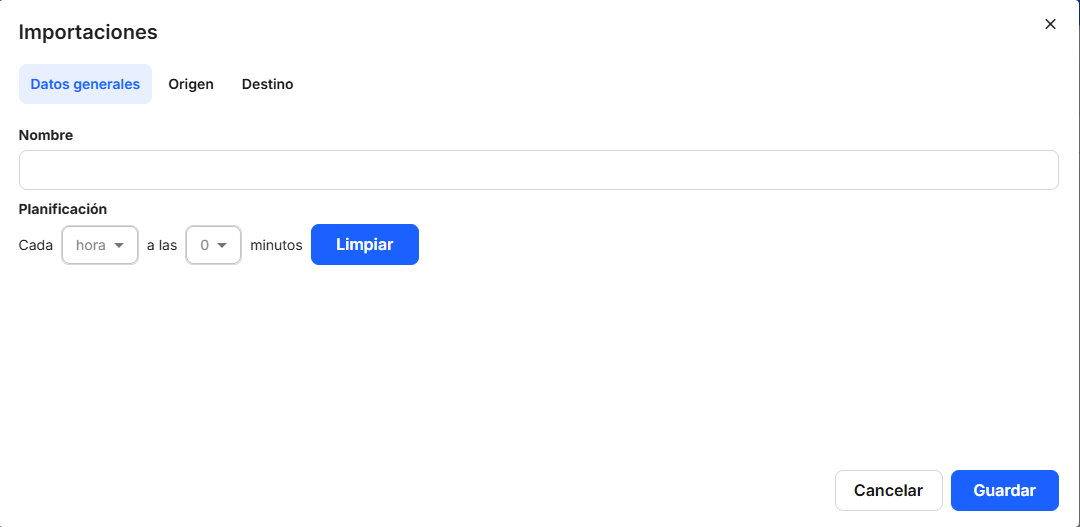
To do this, we need to configure in the window that appears, and not necessarily in this order, the"General data" section, the"Origin" (which must be filled in) and"Destination" (where the inbox in which the documents will remain awaiting further processing, in the case of a manual inbox, or they will be processed automatically, to be added to the file and/or file, in the case of defining an automatic inbox). If any information is missing, the documents will remain in the corresponding tray until the user solves the indications or problems indicated. With the "Clear" button you can delete any established time schedule.
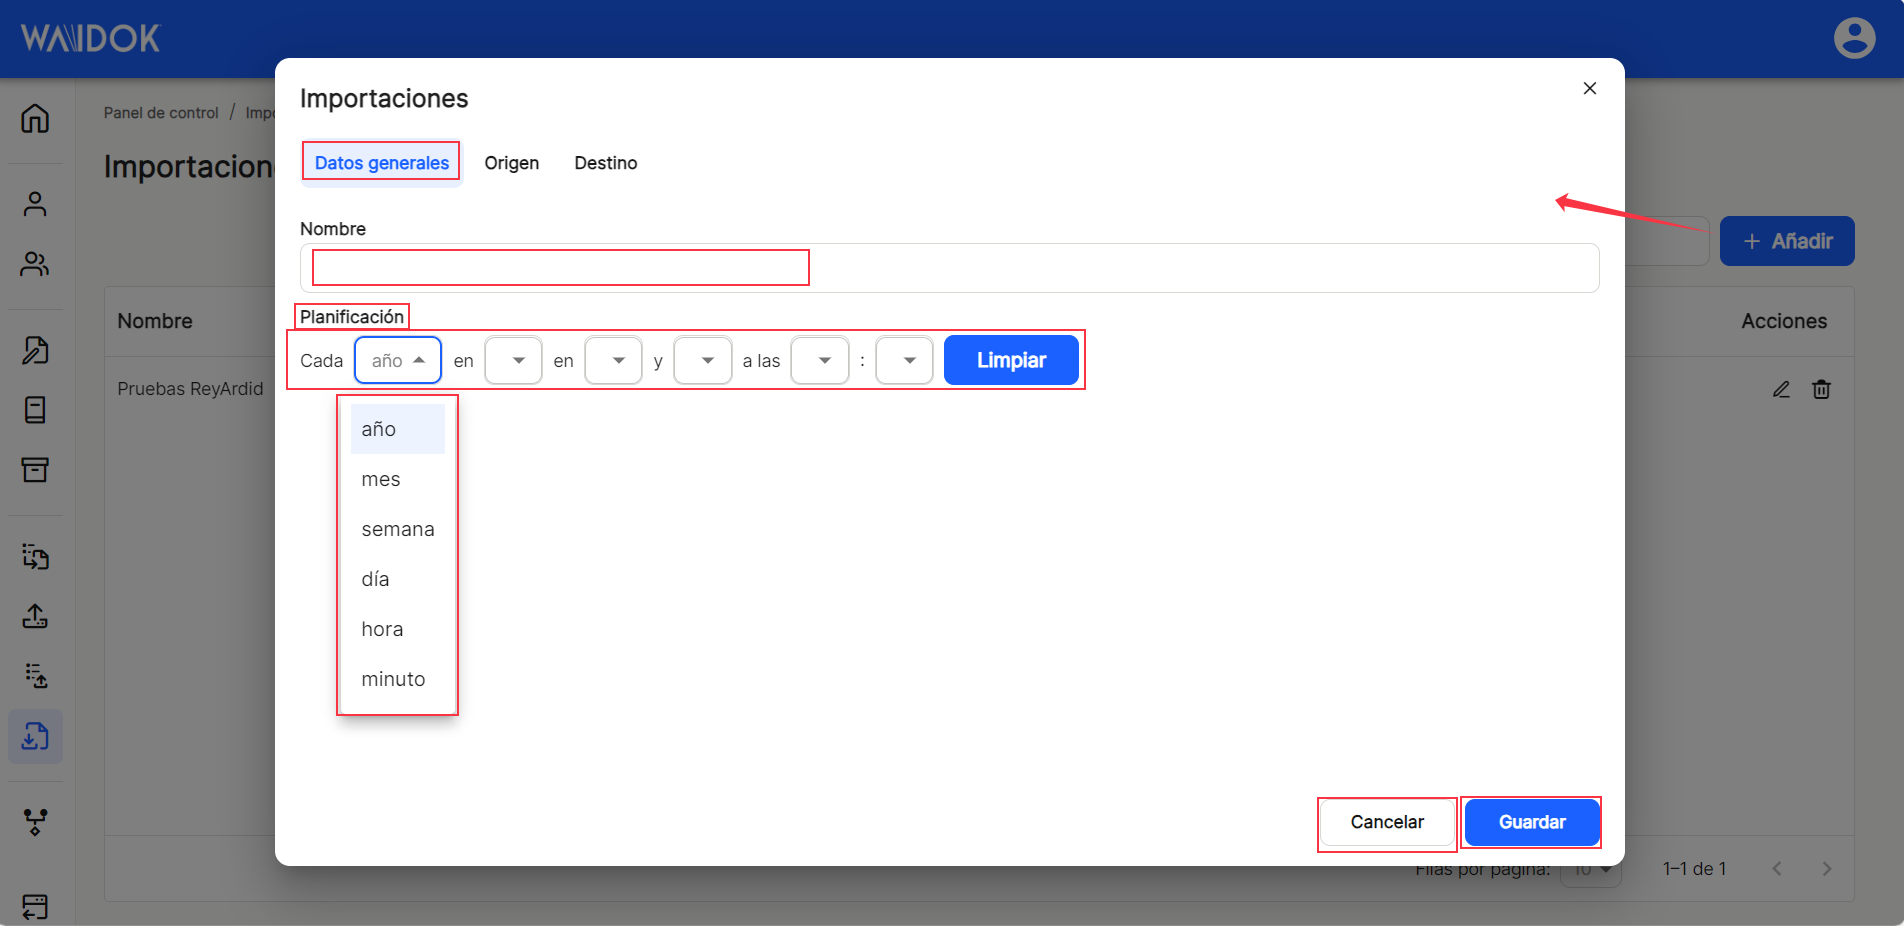
Under "General data", you need to set the "name" of the import, as well as the "schedule" or periodicity of the execution of the generated import.
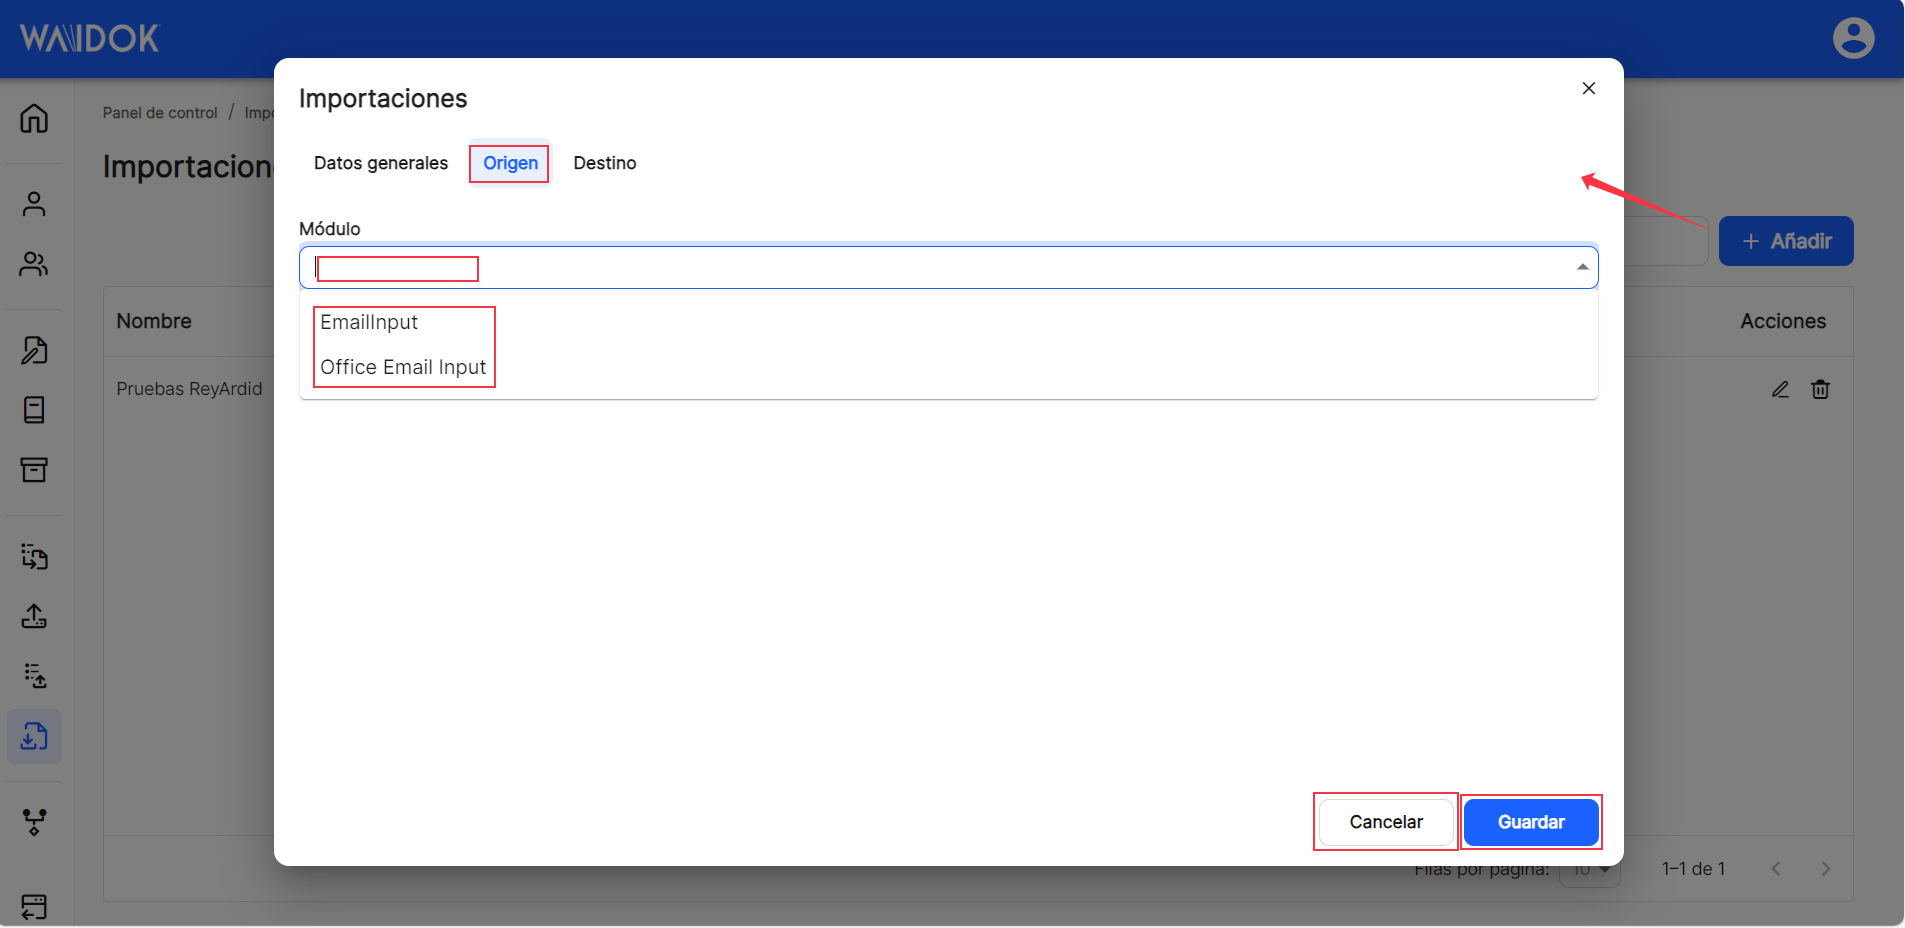
To do this, we need to configure in the window that opens, and not necessarily in this order, the tab"Origin", where you must enter"Module" (mandatory), where you must choose one of the types of mail from those registered in the system, which will be offered by clicking on the button that offers the drop-down list or by clicking on the box.
We also need to configure in the window that opens, and not necessarily in this order, the"Destination" tab,"Recipients" (mandatory), where you must choose one of the inboxes that already exist after having been created in the system, whether manual or automatic, which will be offered by clicking on the button that offers the drop-down list or by clicking on the box.
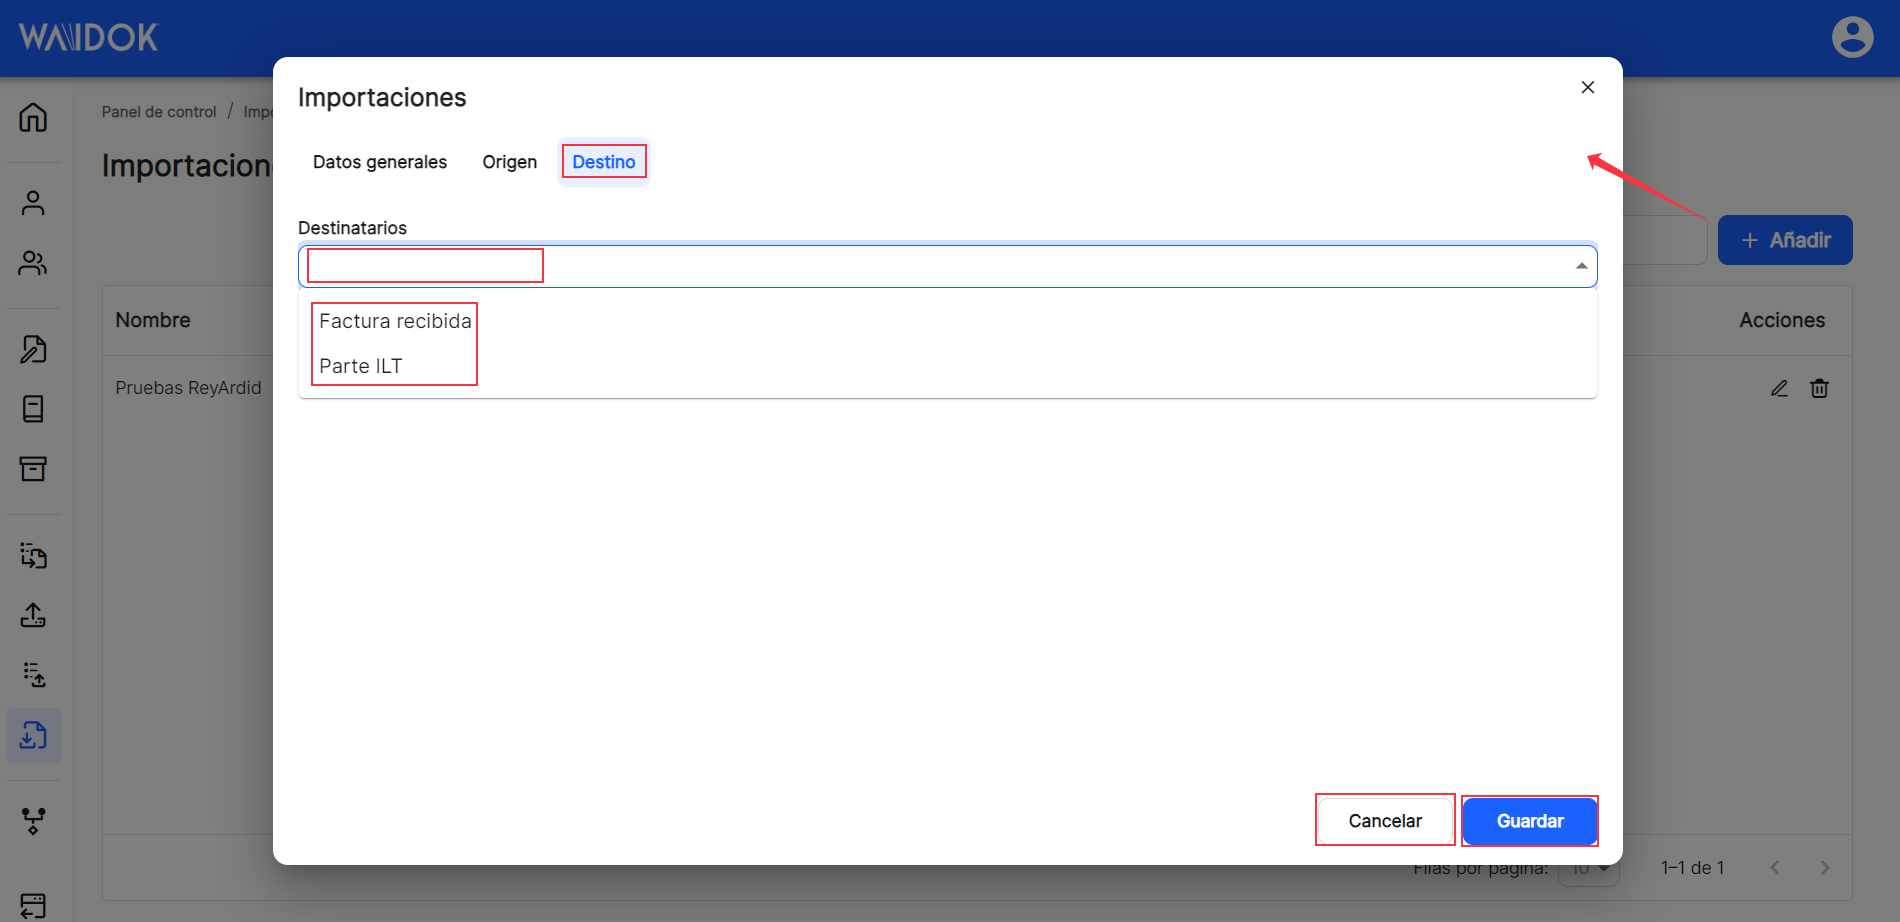
Once the corresponding tabs have been configured, click"Save" or"Cancel".
With the direct option to the quick access of "edit" ![]() (displays the window with the data of an import and its configuration), you access the window that allows the modification of the export data as well as the tabs that could not be configured and that now appear active. With the direct option to the quick access of "delete"
(displays the window with the data of an import and its configuration), you access the window that allows the modification of the export data as well as the tabs that could not be configured and that now appear active. With the direct option to the quick access of "delete" ![]() allows the elimination of the import.
allows the elimination of the import.

After completing the previous steps, the application displays the list of all the properties registered in the application.

Using the"Search" option, we can locate and display in the table, those properties that contain in the"name" that string of characters.

As with the rest of the application's sorting options, when displaying a table with the list of collection properties, it will show different columns, such as "Name", "Origin", "Destination", "Last execution" (date), "Next execution" (date) and "Shares"which contains the direct options to the shortcuts "edit" ![]() (displays the window with the property data of that line and its configuration) and "delete"
(displays the window with the property data of that line and its configuration) and "delete" ![]() .
.

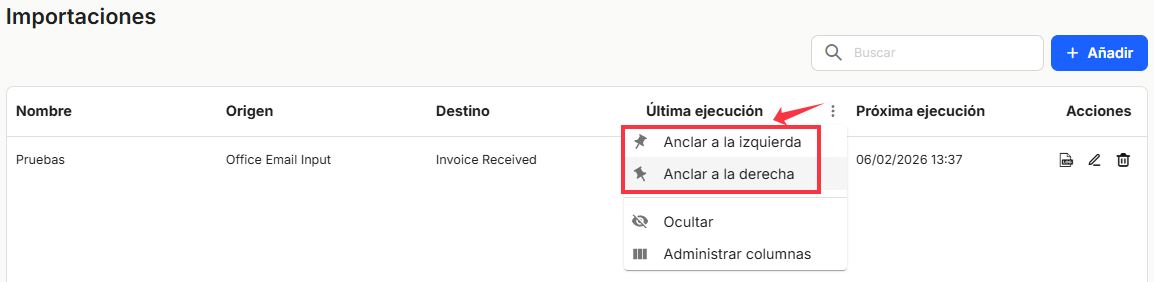
The table listing the export properties will allow you to view and sort the different properties shown and mentioned above. You can view the resultsin different ways using thevarious display options for any of the properties.
You can attach the ones you needon the right or left.
and hide or managewhich columns aredisplayed.
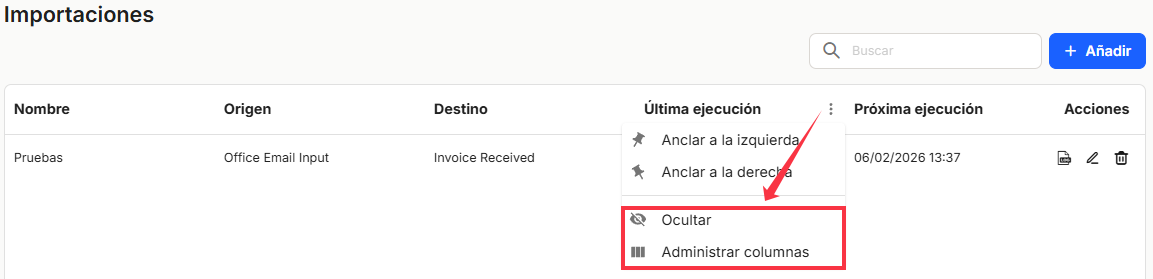
These settings do not remain saved and are only applicable as long as the user is in the window displaying the task list.
With the direct option to the quick access of "edit" ![]() (displays the window with the import data and its settings), you access the window that allows you to modify all the data and parameters. Then "Save" y "Cancel".
(displays the window with the import data and its settings), you access the window that allows you to modify all the data and parameters. Then "Save" y "Cancel".
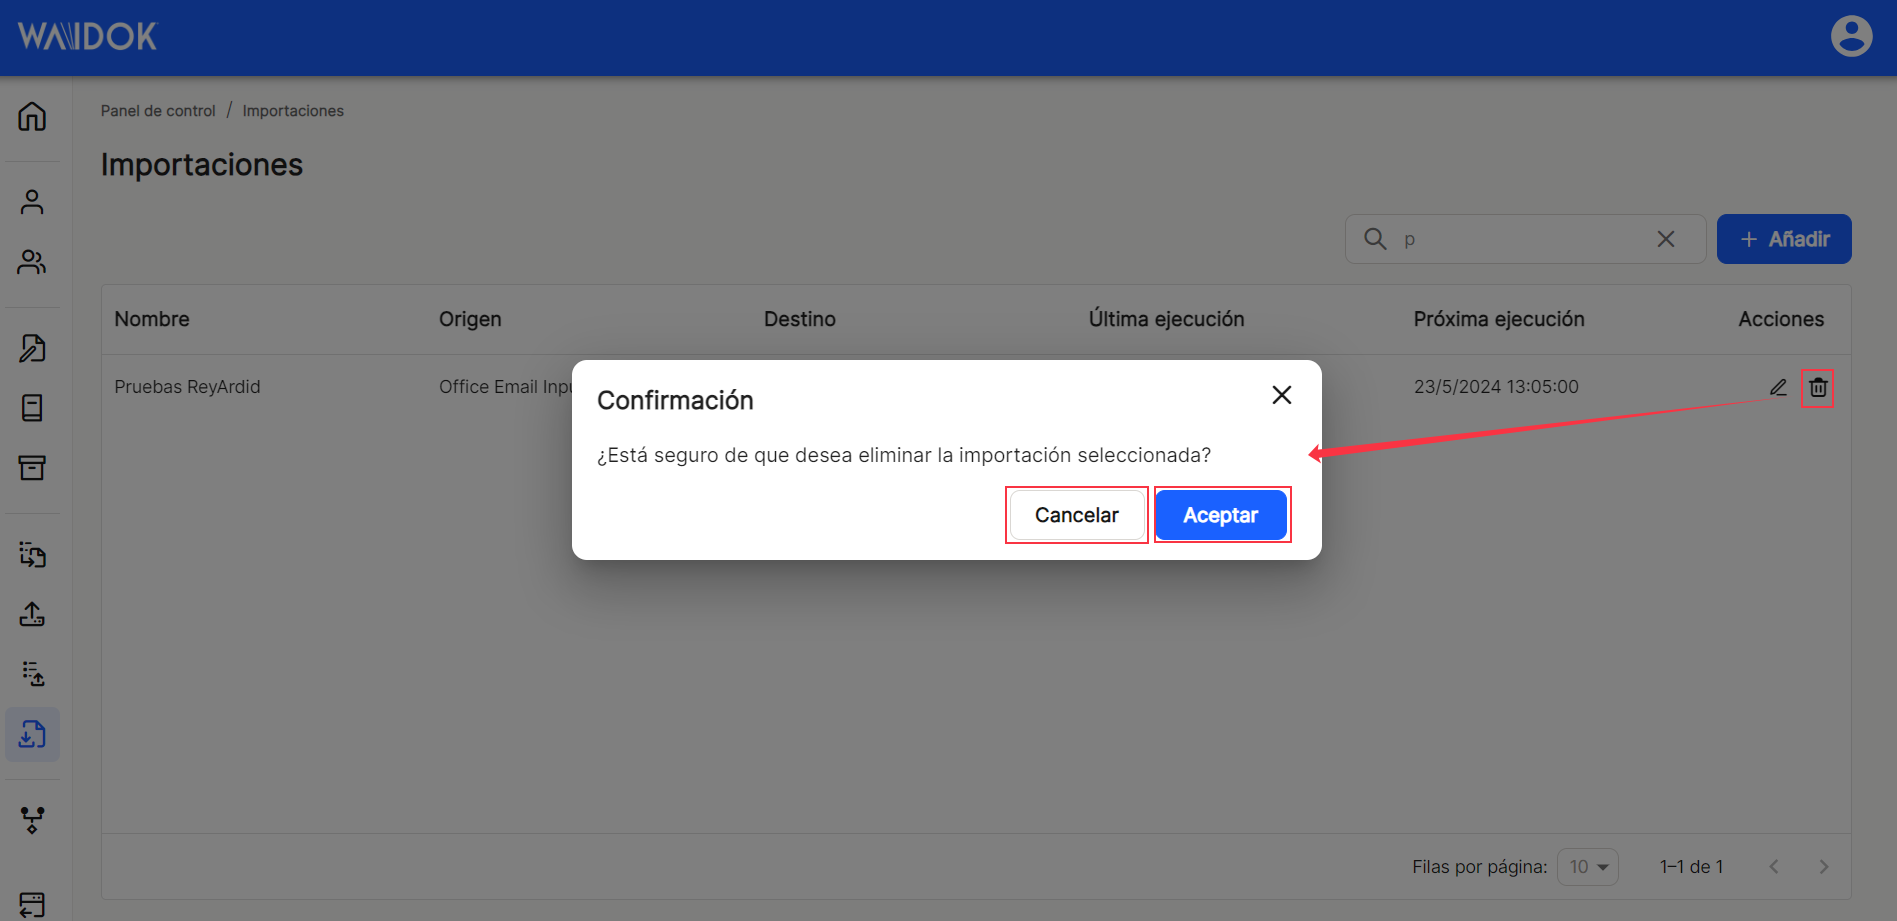
Direct access "delete" ![]() deletes the property from the application, displaying a message for confirmation or not before the action takes place.
deletes the property from the application, displaying a message for confirmation or not before the action takes place.
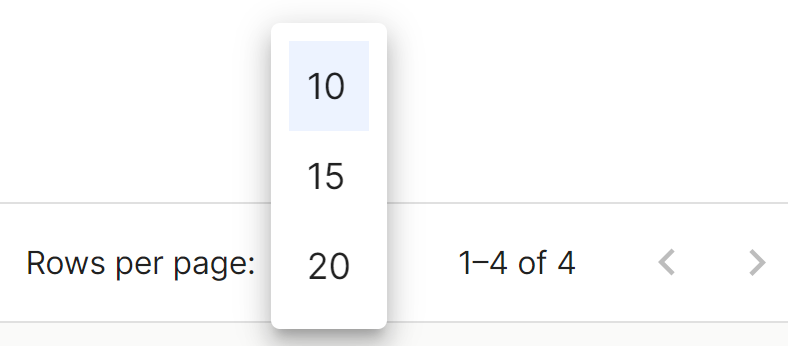
In the lower right part of the table, the total number of results obtained is shown, either without applying any type of search or filtering or applying any of the possible options. The system shows by default 10 lines per table and screen, allowing to show 15 lines or 20 lines per table and screen. It also allows forward or backward navigation in the displayed lists, depending on the pagination set.
No comments to display
No comments to display