Menu. Master Tables
 MASTER TABLES
From the Master Tables option, users can generate tables with data that can be consulted as a single source, mainly from workflows, to maintain standardization and stability of the data used throughout the tool. For example, a single list of suppliers or customers to fill in all the metadata for the various collections related to accounting.
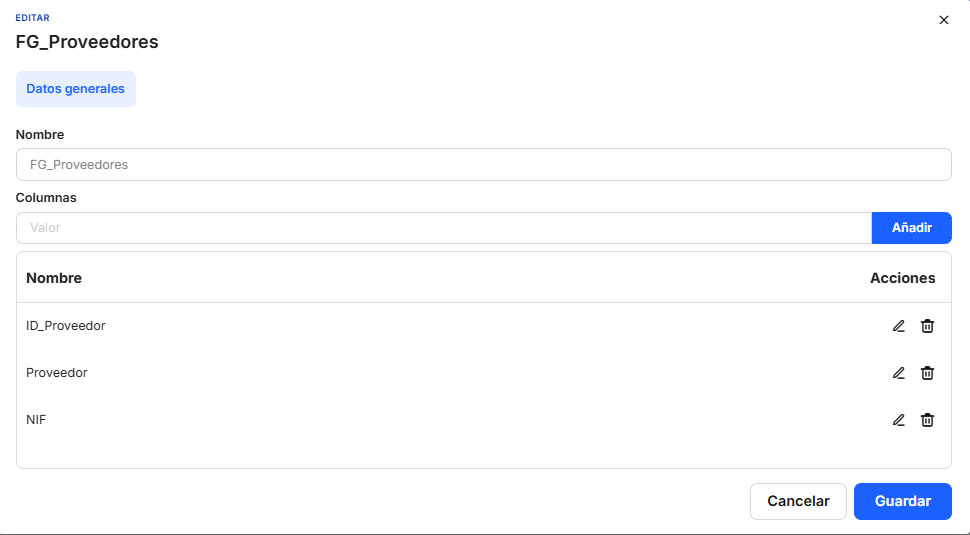
Clicking on the "Add" button will bring up a window where you can enter the name of the table and add the different columns you need to enter the data. From this same window, you can edit the names of the columns if you have made a mistake, as well as delete them if necessary.
All columns inserted into a master table can currently only be text type.
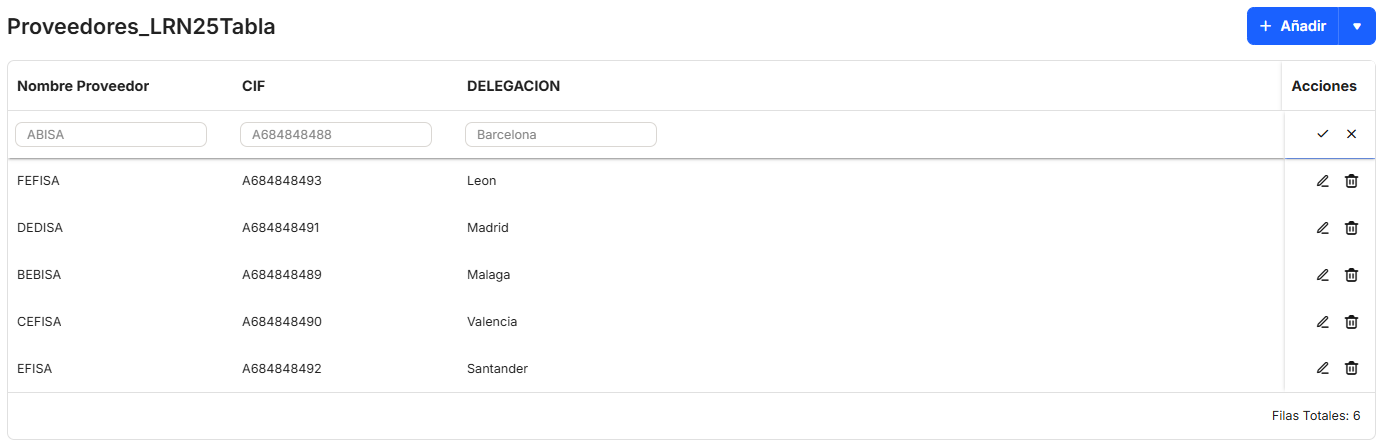
Once we have the column structure of the table, we can select the Open icon.  on the right, in the Actions column, both to view the data in the table and to add new data manually. To edit or delete a row of data, simply click on the edit or delete icon in the "Actions" column. If you click on the edit button, the data will be highlighted and the table will allow you to edit it. Once you have finished, you can accept the changes or cancel them using the corresponding button.
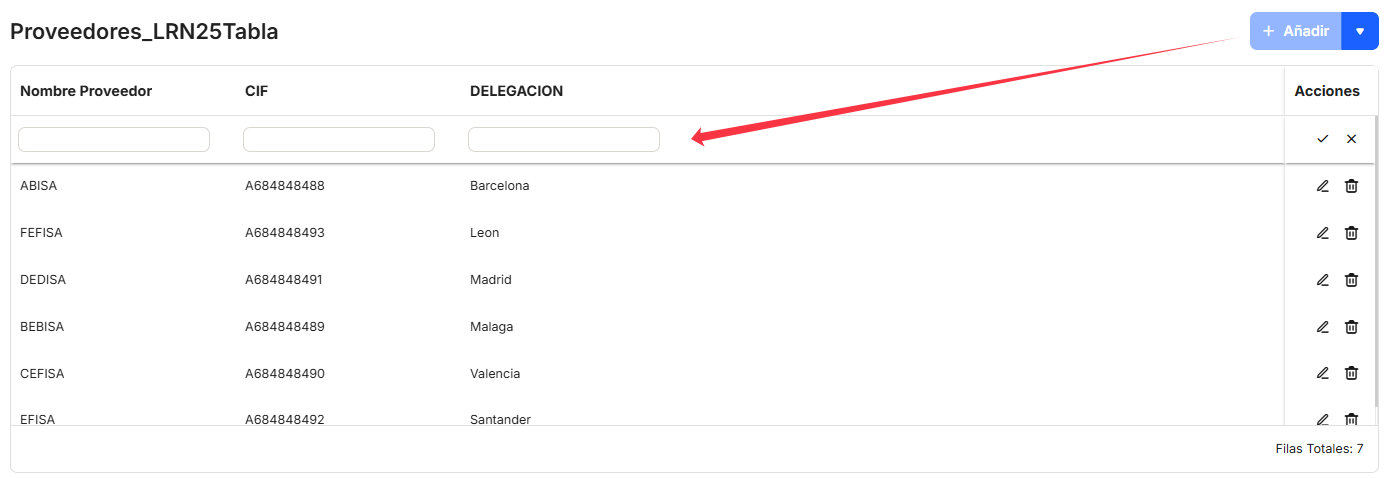
If we click on the "+ Add" button, the window will give us the option to insert a new row into the table. Similarly, we can save the changes or cancel the addition of the new row.
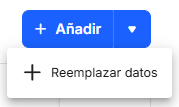
The tool provides us with a final option for entering data into the table: "Replace data." To do this, we must click on the "+ Add" button on the right, and the aforementioned option will appear.
With this option, a window will appear through which we can upload a document in .CSV format by clicking on the "Select document" button.
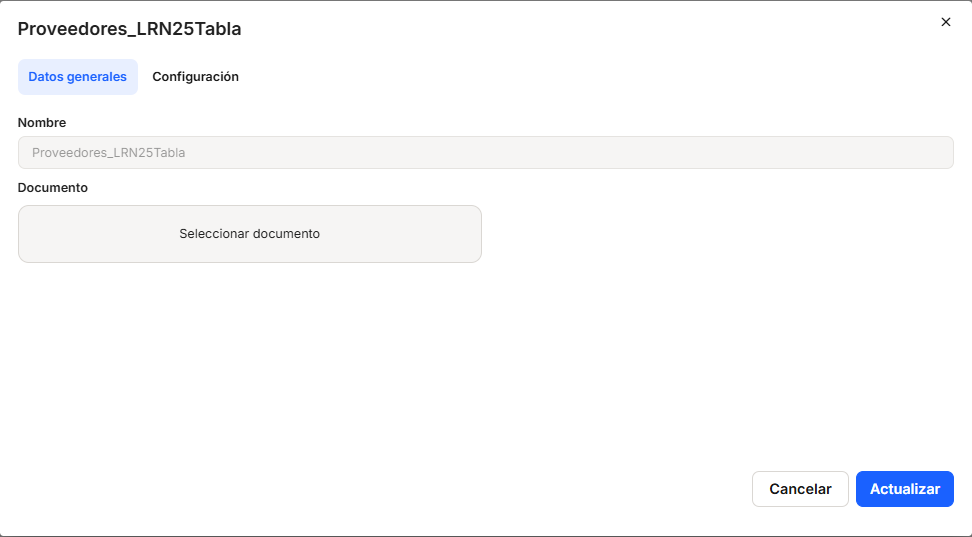
Once the .CSV document has been selected, go directly to the Configuration tab to select the page from which you want to extract the data (by default it will be page 1) and indicate to the system whether or not to include headers. If we leave this last option checked, the system will also include the first row of the .CSV in the table. If it is unchecked, it will not include the data from the first row, as it will take it as table headers.
The names of the columns in the .CSV file are not relevant because they will never replace the names of the columns in the master table, but the order of the columns in the master table and the .CSV document must always be the same.

Clicking on the "Update" button will start loading the data from the .CSV file into the master table.
Be careful! Because data loading from a .CSV file is not incremental, every time we load data, the current data will be deleted and replaced with the data in the .CSV file.
When we already have several master tables in the system, we can use the search box to find the table we need more easily.

No comments to display
No comments to display