Documents. Signature flows
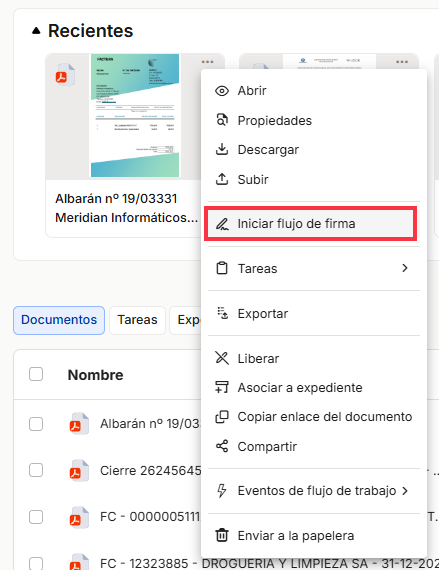
From the context menu of a document, you can initiate a qualified signature flow for a document. This module is additional and must be purchased separately in order to use this functionality. In addition, the document must be in an encapsulated format (PDF) that does not allow editing for the signature to be valid.
In order to initiate a signature flow on a document, in addition to having a signature module license with one of our providers, remember to grant remote signature permissions on the collection. To do this, refer to the corresponding section in the Control Panel section.
When you start a remote signature flow, the configuration window for the new flow you are about to start will appear.
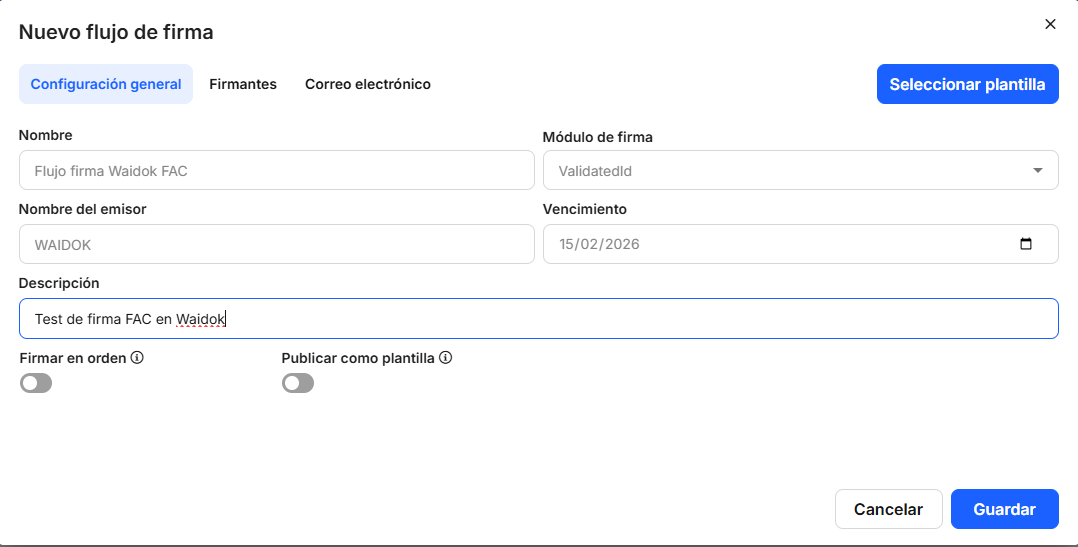
In General Settings, under Name, enter the name you want to use to identify the current flow you are registering.
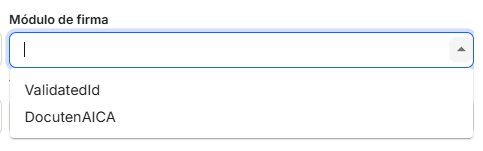
The Signature Module will allow you to choose between the different signature providers available in your Waidok license:
The sender's name will indicate the name of the sender of the email through which the signatory will be notified that they have a document pending signature.
The Expiration Date tells the system the last day the document will be available for signing.
In the Description field, we can provide more identifying information about the flow we are going to initiate so that it is easier to identify it among the other signature flows for the different documents in the system.
Finally, we have two checks that we can activate.
The first: Sign in order will allow us to send the signatures in the order in which the signatories will be inserted , and we will wait until the first one signs before sending it to the next one; otherwise (if left unchecked), the signature communication will be sent to all signatories at once.
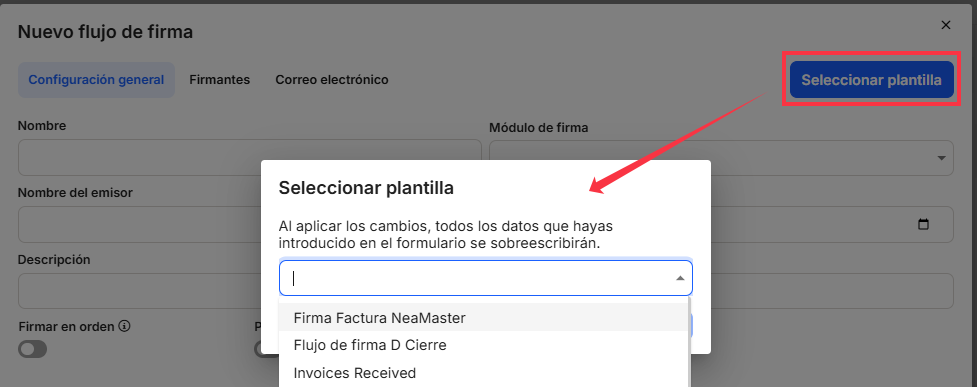
The second option, Publish as template, allows us to publish (save) the flow as a template for later use in other documents. If we already have templates saved and want to use them, we just need to click on the Select template button in the new flow window, and we can choose the one we want to start the flow.
Once all the information in this window has been filled in, we can move on to the next tab: "Signatories."
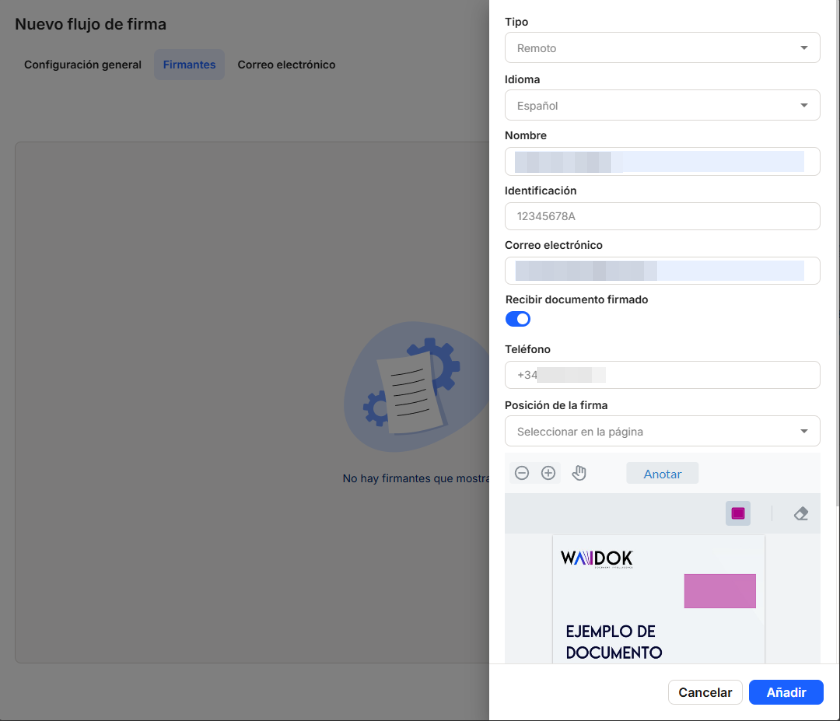
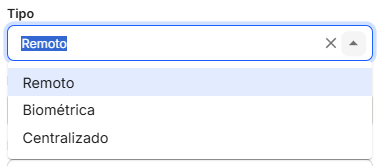
In Signature Type, depending on the provider chosen in the previous window, we can choose between the different types of remote signatures provided within the tool.
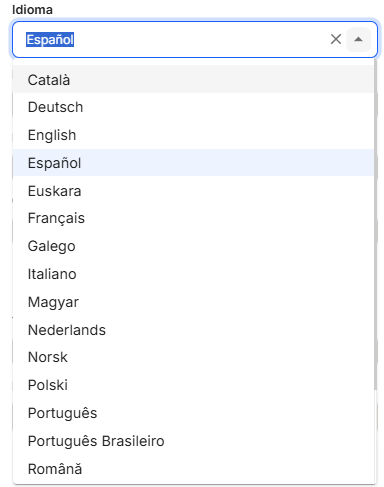
The Language field allows us to choose between the different languages in which the signature information will be presented to the signer by the signature service provider.
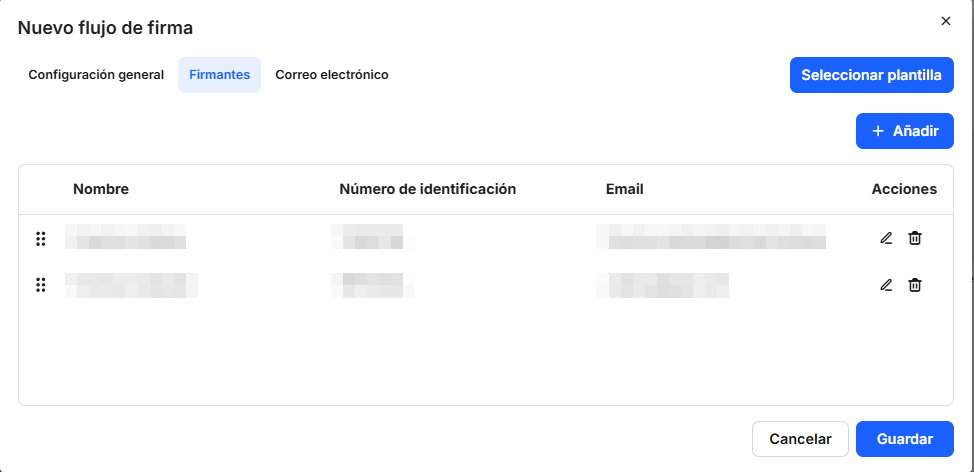
In the Name field, you must enter the name we will use to identify the signer within the tool's workflow. The Identification field allows us to assign a unique identifier to the signer. This field is mandatory, so it must contain some form of identification, such as a national ID number or passport number. Similarly, theEmail field is mandatory because it will be the email address to which the signature notification will be sent to the signer of the document.
If we check the box Receive signed document, a copy of the document will be sent to the specified email address once it has been signed.
In the Phone field , you can enter the mobile phone number where the signer will receive the mandatory two-factor authentication code for signing by the system. This field is not mandatory because the information may not be known at the time of sending. If it is not filled in, when the signer proceeds to sign the document, the service provider will request the information from the signer before proceeding.
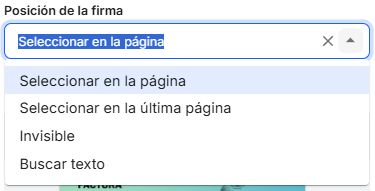
In the Signature Position field , you can choose where you want the signature to be inserted in the document. The options are:
- Select on the page: you will be able to see and choose where on the document page you want to stamp the signature. You can view it by clicking on the square to mark the place where you want the signature to appear with a purple rectangle.
- Select on the last page: the signature will be stamped on the last page of the document.
- Invisible: if you want only the data related to the qualified signature to be recorded in the document, but nothing to be stamped on it.
- Search text: a specified text will be searched for in the document and, wherever it is found, the signature will be stamped.
In this window, we can check the details and order of the signatories as they are added to the document. From the table, we can change their order, edit their details, and delete them.
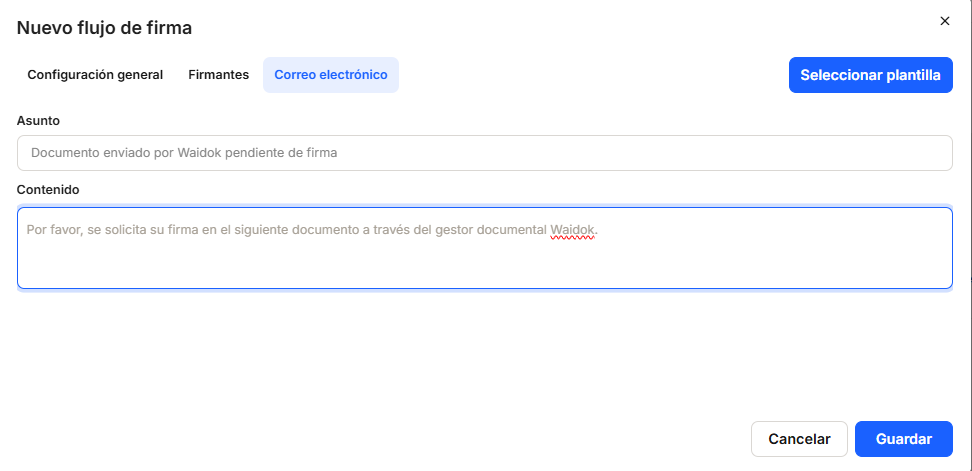
Once the signatories have been completed, all that remains, if we deem it appropriate, is to modify the messages in the email sending the signature notification emails. In Subject and Content, we have the option to customize the text that the signatory will receive from the service provider.
When the flow creation process is complete and saved, the selected signing process will begin. In the example, you will see a new line in the Digital Signatures console (see the specific section to view all options) with the status Sent.

If there are several signatories in the workflow, we will be able to track the status of each signature and, if applicable, the reason for rejection by the signatories.

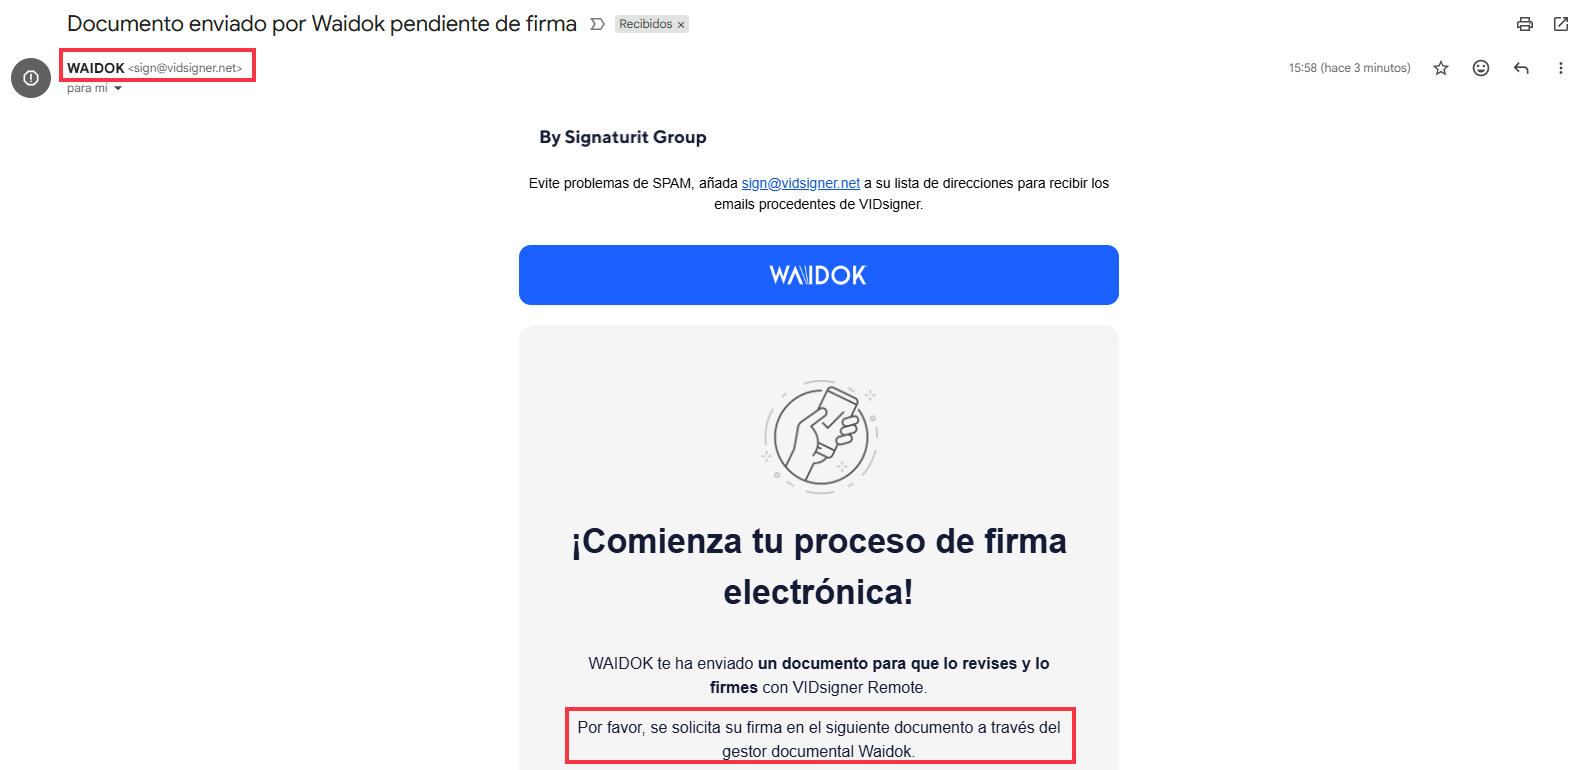
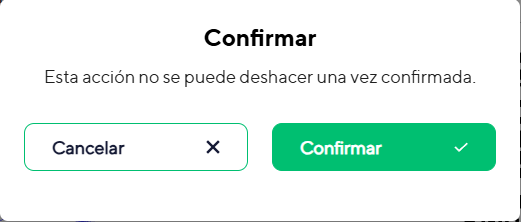
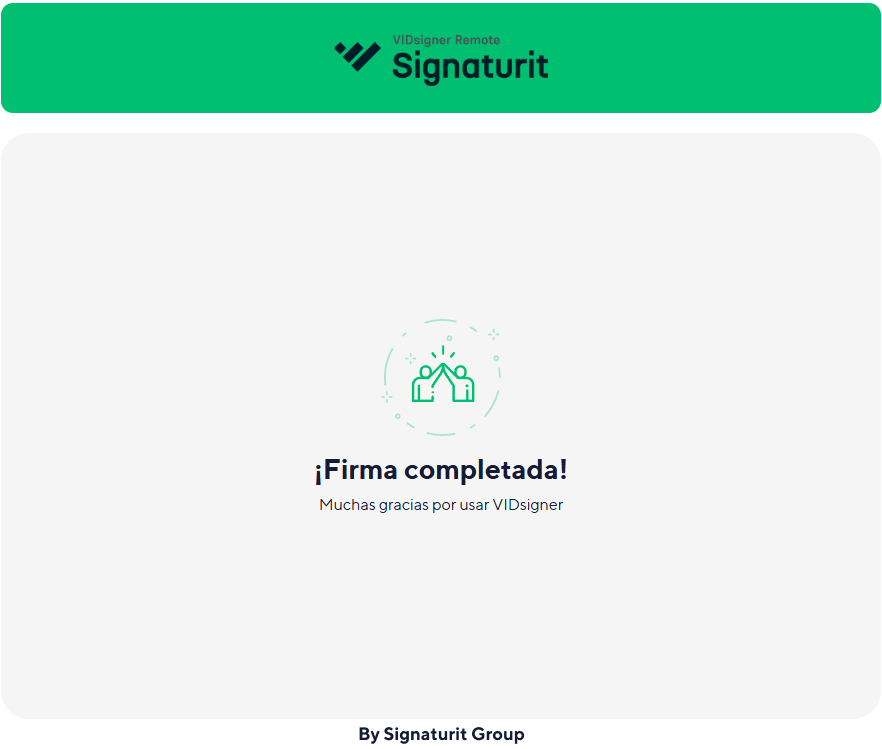
In a few seconds, the signer will receive an email with a link that will take them to a website where they can follow the signing process until it is complete.

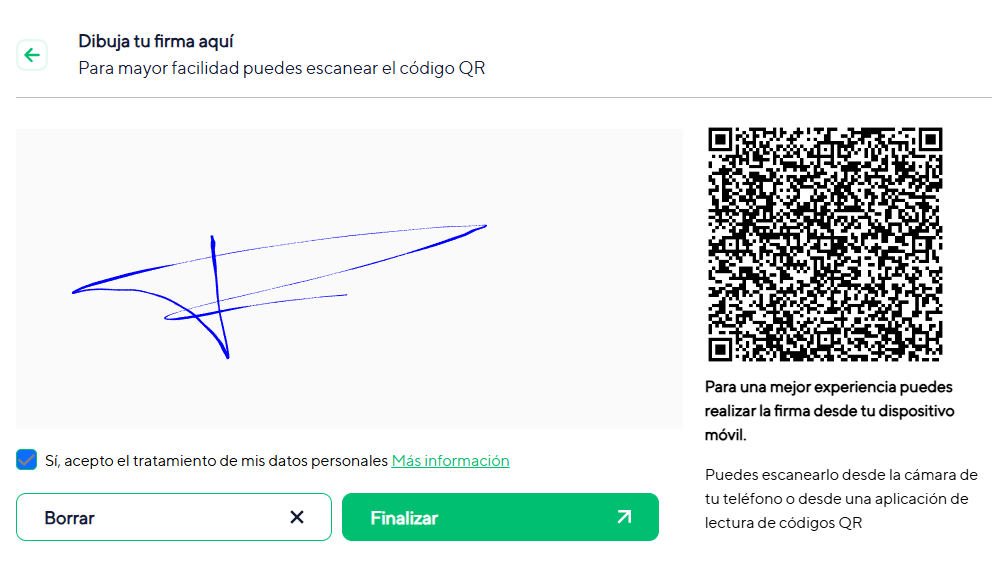
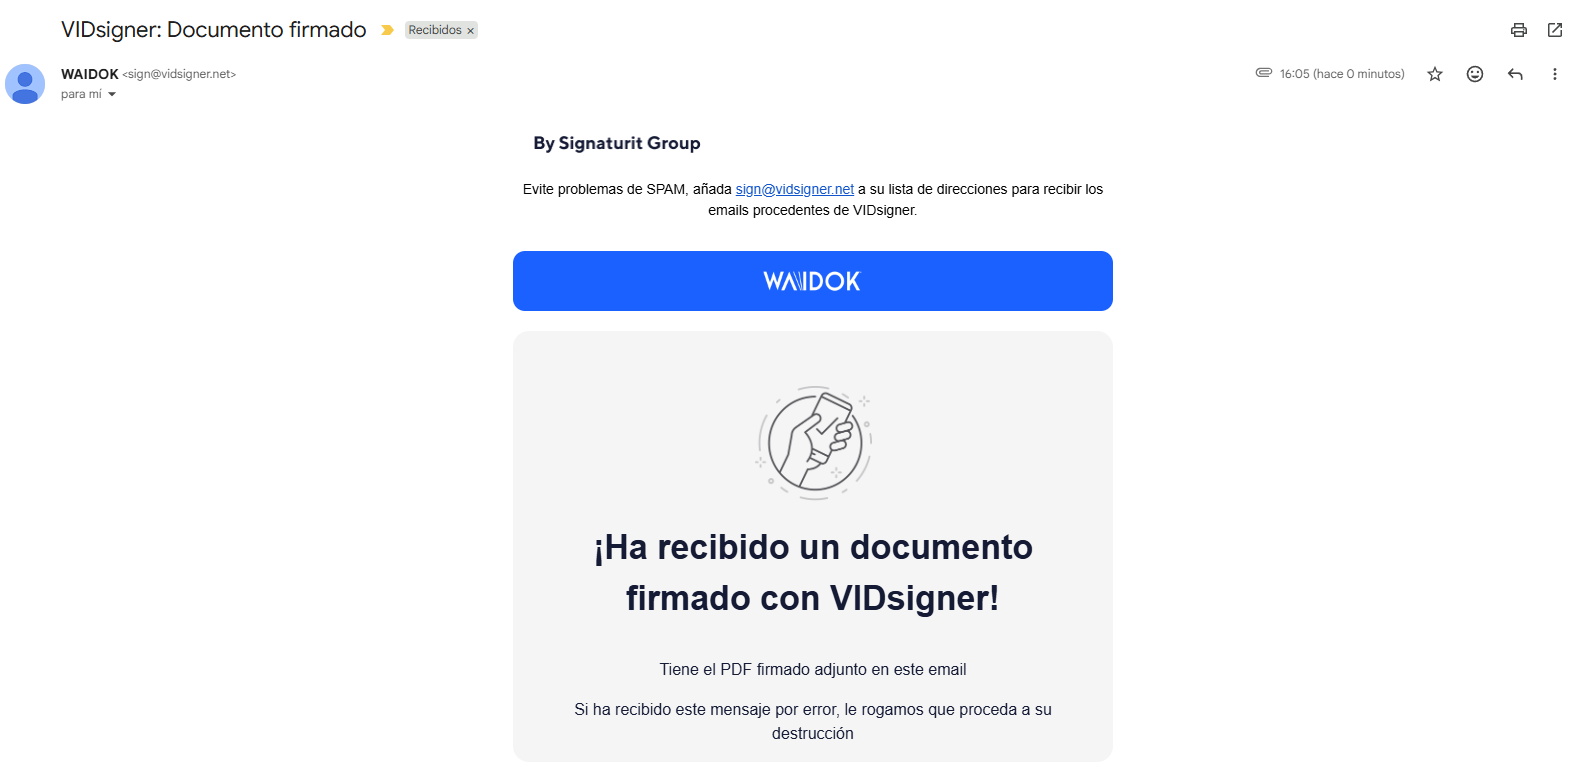
When finished, if the option Receive signed document by email has been selected, the signer will receive their copy of the document with the signature in the location that has been selected.
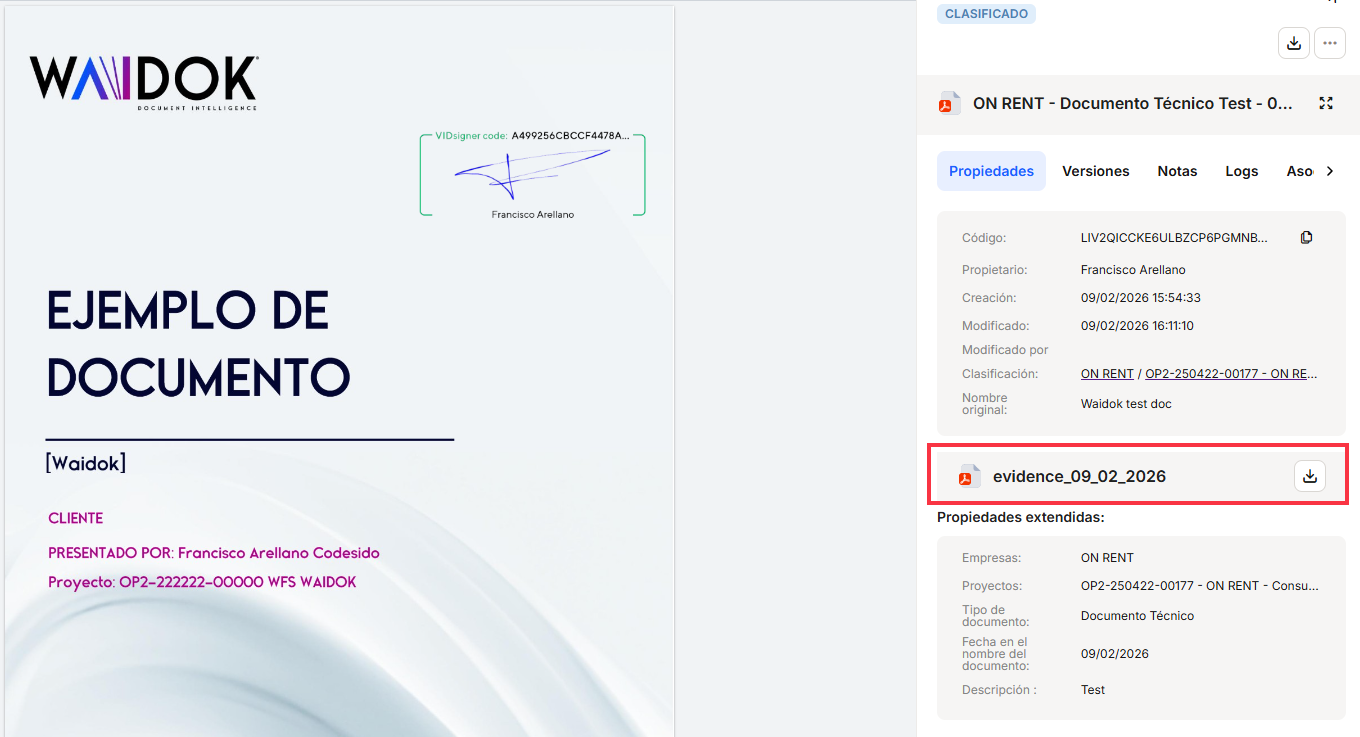
Once the flow is complete, the document will appear in the signature console with the status Correct, and within Waidok we will already have the updated document with the signature (if it is visible, it will also appear in the document thumbnails).


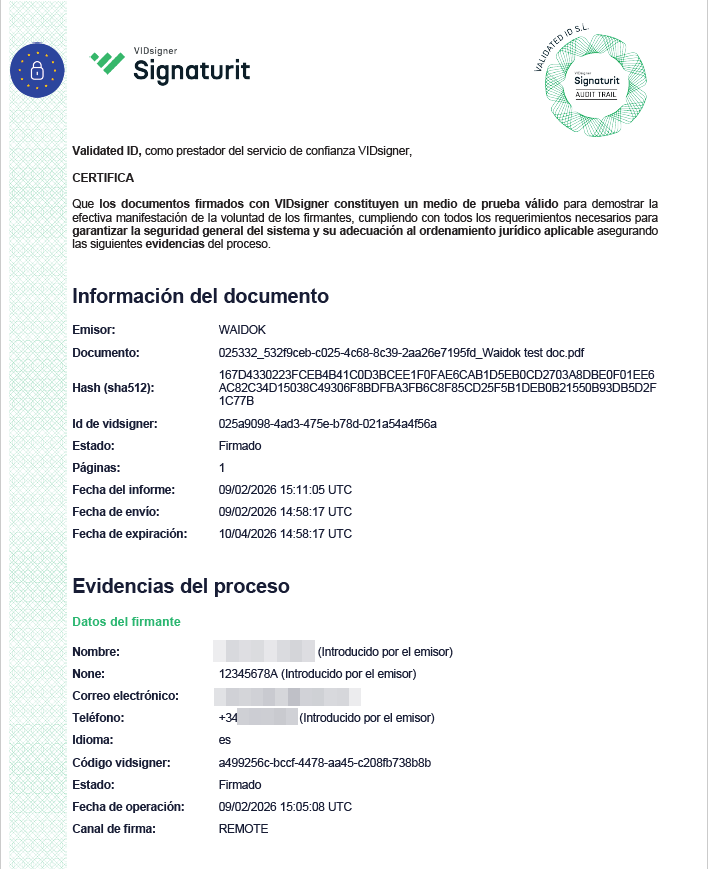
In addition, we will obtain a document of evidence from the signature service that will be associated with the signed document with all the data relating to the signature: location, IP, date and time, etc. Depending on the type of signature (biometric, remote, centralized, etc.), the evidence data may vary slightly between documents.
No comments to display
No comments to display